Back to school wardrobe for girls, on a budget
I can’t believe it. Sweet Eve will be starting preschool this year. Even though I sent Dub to preschool two years ago with not a lot of angst, this one is different. My shy, sensitive girl will be going out into the world on her own, and my protective instinct tells me not to let her go! But, I know she’s also ready to make friends, crafts, and all the things she sees her big brother do. So now I’m distracting myself with the back to school process, buying supplies and…a super cute wardrobe.
Here’s how I envision Eve’s preschool wardrobe – that’s 14 pieces/10 outfits for $150*. I’d say that’s doing pretty well. What are you back to school wardrobe shopping tips?

Back to School 11+ Outfits under $150 | Five Marigolds
Toddler Girl Back to School $150 by shellrock1 featuring h&m cardigan
hm.com
hm.com
oldnavy.gap.com
oldnavy.gap.com
oldnavy.gap.com
oldnavy.gap.com
oldnavy.gap.com
oldnavy.gap.com
oldnavy.gap.com
crazy8.com
oldnavy.gap.com
gymboree.com
target.com
Activity/quiet book
For Dub’s first Christmas years ago, I decided I wanted to start the tradition of making something homemade for my kids for each Christmas. I ambitiously took on an activity book project to kick off the tradition, knowing I could add pages to it each year.
I drew inspiration from the interwebs and used a few patterns But mostly, I just winged it. Ididn’t want it to look perfect, I wanted it to look inviting and fun!
- I did a lot of web surfing for inspiration. I used a few patterns from one of my favorite bloggers, Homemade by Jill.
- From there, I narrowed down the pages and activities I wanted tobe in the book and madea list of the supplies I needed. I was patient with this and used 40% off coupons at Michael’sand JoAnn’s for several weeks to avoid paying full price on the more expensive supplies. Pre-planning is the most important step to any project, because having allthesupplies on hand means fewer half-finished projects laying around that were never picked back up after the inspiration left!
- As a working mom, I made it my goal to complete at least two pages every weekend. This made the project much more manageable for me to take on. Looking face-on at a full weekend of sewing probably would have killed my motivation to start!
- After all of the pages were complete, I paired pages two-by-two and sewed twosheetstogether back-to-back.
- I then punched three grommets into each set of pages, like you would if you were going to add them to a binder.
- Finally, I used loose leaf rings to secure them together. I chose to do it this way so I couldrepair pages or continue to add pages as I had kids.
Materials used:
- White felt pages from the craft store (around 25 cents each)
- Additional felt pages in various colors
- Scrap fabric and notions, like a zipper and ricrac,
- Assorted buttons I had saved over the years
- Metal snaps (these are easier for little hands to use vs. the plastic snaps)
- Chalk Cloth fabric
- Loose leaf rings
- Grommets
- Finger puppets from Ikea for the Noah’s Ark page (pictured below). These are no longer available through Ikea but they pop up on ebay all the time!
![]()
![]()
![]()
![]()
![]()
![]()
![]()
![]()
I’m happy to say that 4 years later, this book still gets used by Dub and now Eve, too. It’s held up and only needed 1 small repair.
In retrospect, I wish I had more carefully documented the sewing process and made patterns for each page. It took me a long time pull this book together and it would have been so much easier if all the patterns had been in one place. I often wonder if I should go back and make the patterns to share for the next person. If you would like to see that in the future, please be sure to tell me in the comments below!
Super Hero Comic Book Birthday Party
Wow, I can’t believe how time flies. As little Dub’s birthday approached, I knew his would have to be a superhero theme, but I wanted it to be less focused on commercial super heroes and a little more of a generic comic book vibe.
To set the tone, I set off to create a comic book – inspired invite. I coerced him into taking a Clark Kent/super man photo. I just had him wear his Superman pajama shirt under a button down and snap on tie and then put on a pair of glasses frames I got at the dollar store. I went to work in PhotoShop and created this invite. I used PhotoShop action that made him look like a true comic book character.
Next, I wanted to make a comic book pendant. I was very pregnant and on bed rest while planning the party, so I enlisted my mom for help. I bought a comic book off ebay, cut the comic pages into triangles and placed them inside the fold of some red binding I had on hand. Then she simply sewed along the binding and voila! Dub liked this so much he asked to hang it in his room after the party.
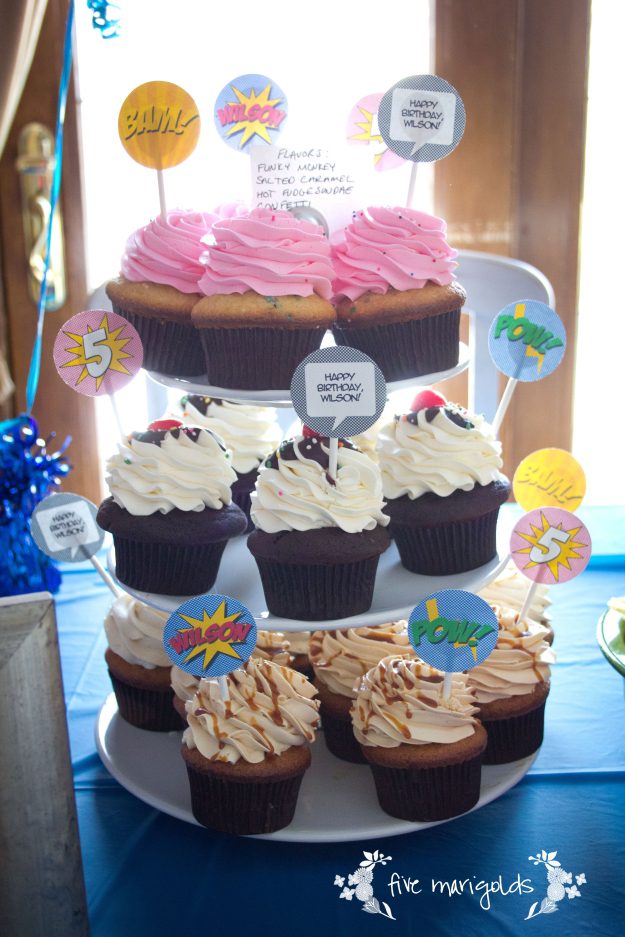
Again, since I was very pregnant I decided to hire out the cake in the form of some amazing cupcakes from our local bakery. I made cupcake toppers in PhotoShop and attached them to lollipop sticks I found at Michael’s in the baking section.
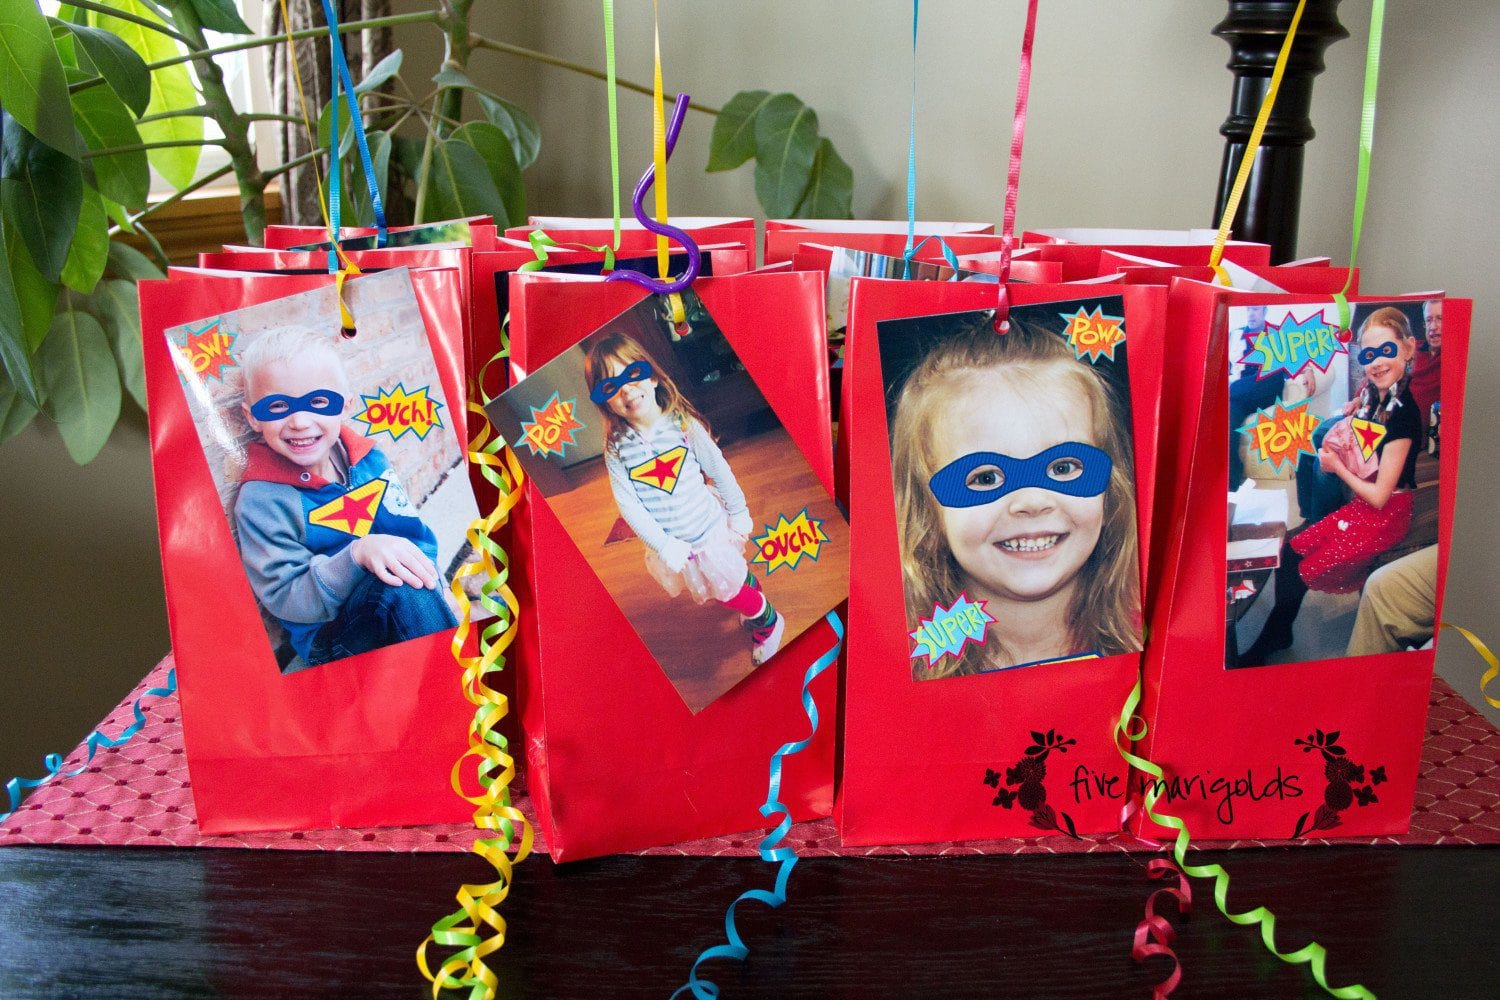
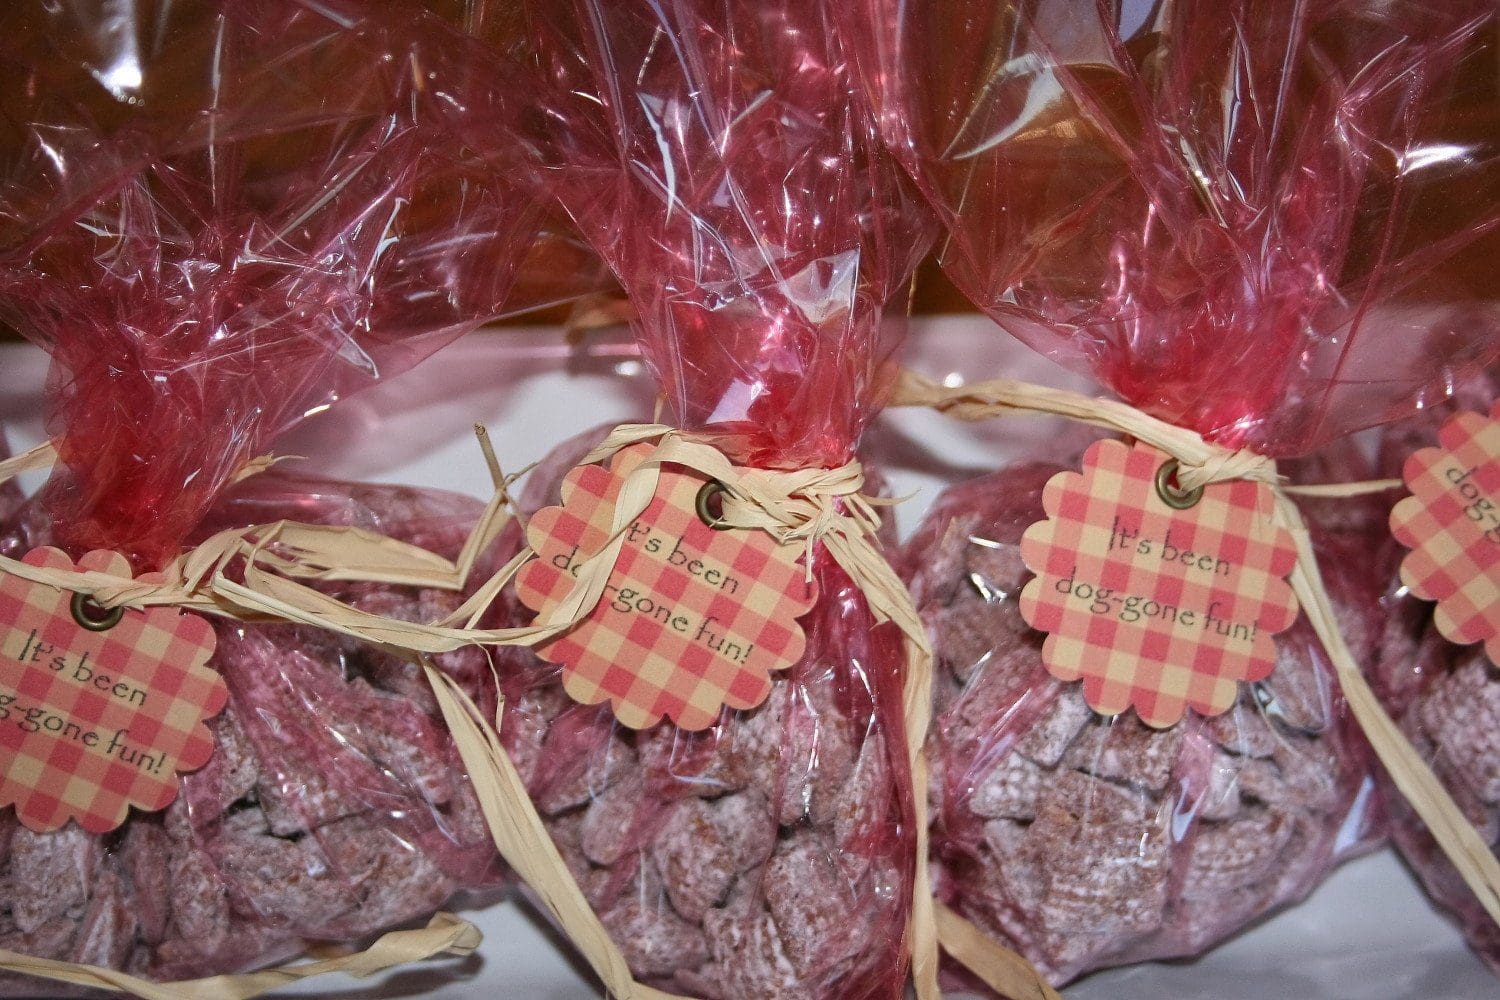
This was Dub’s first party where we invited friends, so I was new to the party favor tradition. I asked all the parents in advance to send me a photo of their children so I could personalize each goodie bag with their photo. I added free superhero overlays like masks and emblems from Lil Blue Boo in PhotoShop and they were a huge hit!
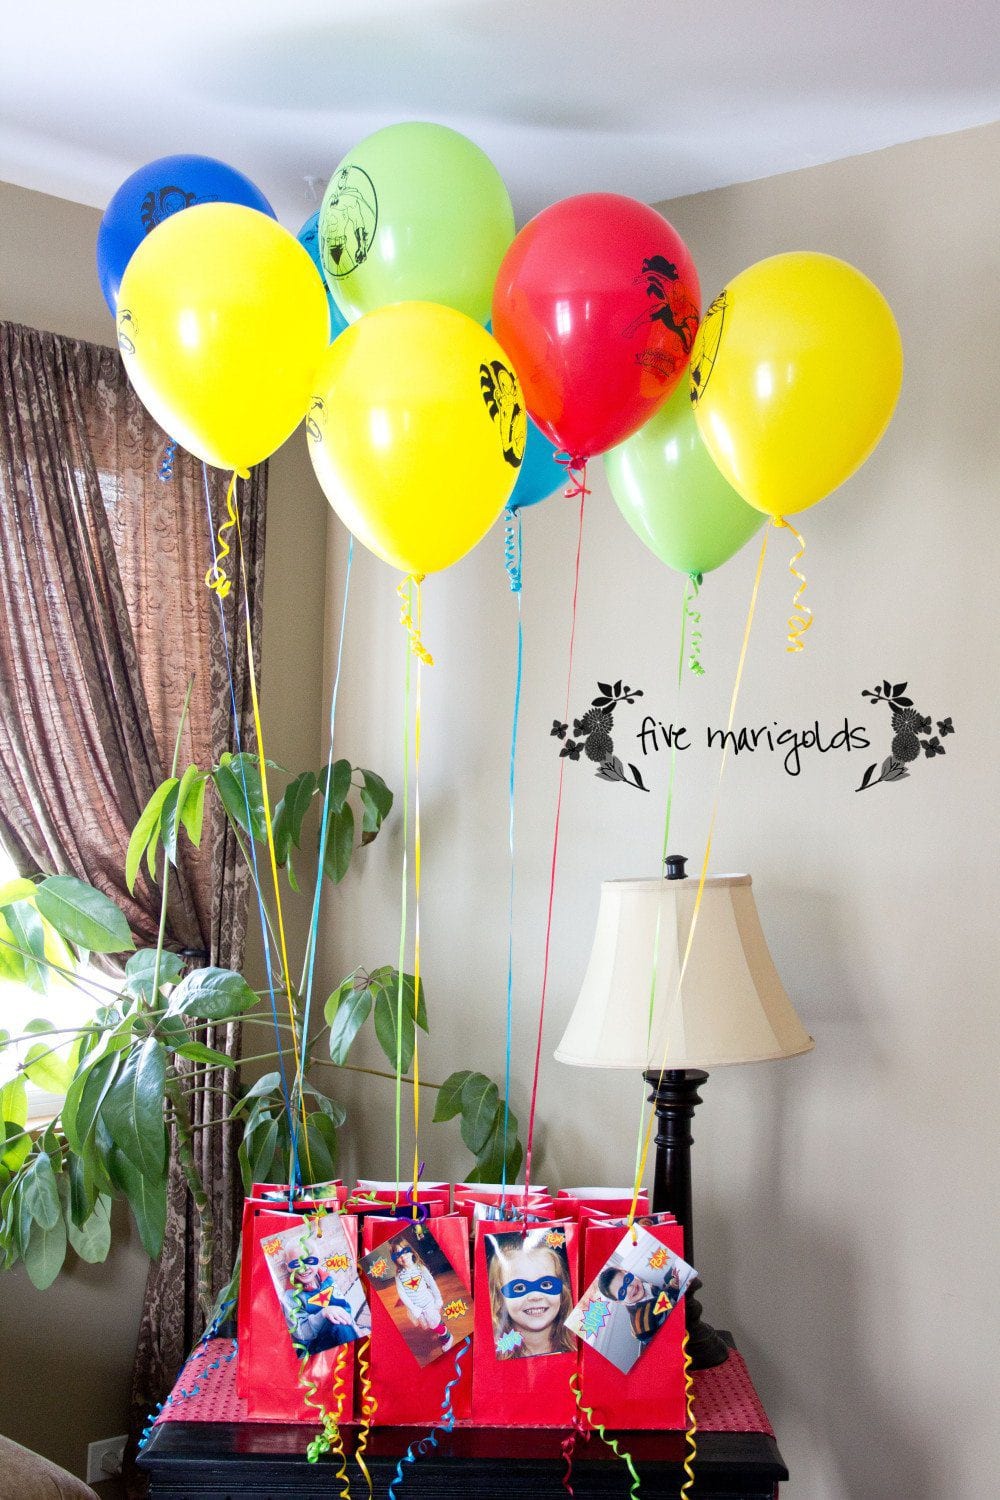
As much as I love having balloons to decorate for parties, I hate watching them pathetically deflate in the days following (my kids refuse to throw them away until the bitter end!) So, I attached a balloon to each goodie bag for a festive display that our little guests could take home with them. This was an inexpensive favor with big impact! The kids were thrilled to take them home and I was just as thrilled to see them go.
I had to figure out how to entertain all these kids in our teeny home. So I set up a superhero mask making station. I pre-cut the masks in craft foam and bought self-stick foam stars and letter so kids could decorate them and add their names.
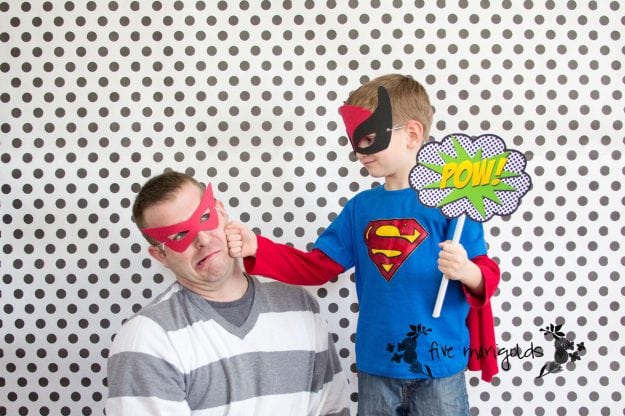
Next, I really wanted to create a photo booth. I bought some polka-dot wrapping paper that I just taped to the wall. I made some photo booth signs in PhotoShop that matched the cupcake toppers, and printed them on 8.5×11″ sheets of white card stock. I cut them out and taped them to the cardboard tube that comes on dry cleaning hangers – it was what I had on hand! Or, if you’re not the DIY type, you could buy some here.)
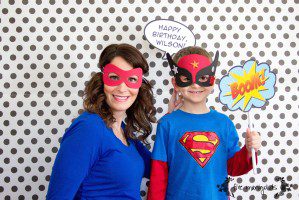
Dub and a very pregnant me in the photo booth.
My goal was to get pictures of all the kids at the party to put on the thank-you note. What I didn’t count on was how shy the kids would be. I had to beg to get them all to pose together so I could get my thank-you card shot! But I got it, and here’s how it turned out:
I designed the back like a true post card with a fill-in-the-blank thank-you message for Dub to personalize. I heard later that our little guests were thrilled to see themselves in the card.
So, there we have it! Dub’s 5th birthday. For more superhero birthday ideas check out my Pinterest board.
I’ve linked directly to the customizable invites and thank you notes in my Etsy shop. If you would like me to offer free downloads of the cupcake toppers and photo booth signs I used, please let me know in the comments below!
(Very) Small Spaces: Shared Girl Room
Perfect Pink Lemonade Birthday Party
I was so excited for Eve’s first birthday and I knew exactly what the theme would be – Pink Lemonade, for my sweet and sour little girl 🙂
Well, then there was an out of state family wedding the weekend of her birthday which meant significantly toning down the birthday plans. Which was hard for me, because I just love a good themed party. Side note: do you know what else is hard? Accidentally deleting all the photos in my camera from said party, and then racing to take just a couple to prove my baby had a party. Ugh!
So to plan the un-party, I started with the basics. One of the things I’ve done for all of my kids is purchase just a few birthday items that we bring out every year, including a pendant banner, centerpieces with photos of them over the years, and a “My special day” seat cover.
![]()
We also use this seat cover for all special occasions, from birthdays to the first day of school and other milestones. It’s a tradition that has become very meaningful to us – when the kids come downstairs in the morning and see their seat cover, they know we’re celebrating them that day.
![]()
Next, I added some cute polka-dot napkins, cups and cute paper straws from Target. I served a basic lemonade some frozen strawberries. Yum!
![]()
I made these adorable cupcakes. I’d scoured the interwebs for the best pink lemonade recipe and landed on this one. Unfortunately, they were just a bit too tart for us! No problemo – that just left more room for the homemade ice cream we made (and Mmmm does our family love homemade ice cream!).
![]()
So there you have it – a very simple, sweet Pink Lemonade birthday. Check out my Pink Lemonade Pinterest board for more ideas for our next Pink Lemonade birthday. Enjoy!
Chugga Chugga Choo Choo! Our Little Boy Turned Two
It was really clear that for Dub’s second birthday it needed to be all about trains. So off we went – chugga, chugga choo choo! Dub was about to be two!
I searched the internet for train birthday cakes I thought I could pull off. I didn’t find anything especially helpful in terms of tutorials, so I had to eyeball it using carved pound cake (slightly frozen works best) and various garnishments to make it look like a train. We used my favorite almond-flavored pound cake from Tastefully simple since we’re not otherwise big pound cake fans. Frosting this sucker was the worst part – I found the cake to be crumbly, even when slightly frozen, so we had to cake the frosting on to disguise them.![]()
Notice the chair cover in the background. I had my mother make covers like this for each of our kids to use on special days: birthdays, first days of school and other celebrations. Since all of our family lives out of state, this travels with us for out-of-town celebrations, and the kids know that when they wake up and see this on their chair in the morning – that we’ll be celebrating them that day. It’s become such a fun tradition for all of us!
Puppy Dog First Birthday Party
For Dub’s first birthday, I knew I wanted to do a puppy dog theme. Now, I just love a good themed birthday, but really we don’t go overboard for parties. This was especially true for his first – we just invited a few family members and held at his grandma and grandpa’s home, near where most of our family lives.
We made puppycakes using this tutorial from Family Fun magazine. My photography at that time leaves very little to be desired, but you get the idea.
And, of course, gave puppy chow as party favors with hangtags that read, “It’s been dog-gone fun!”


