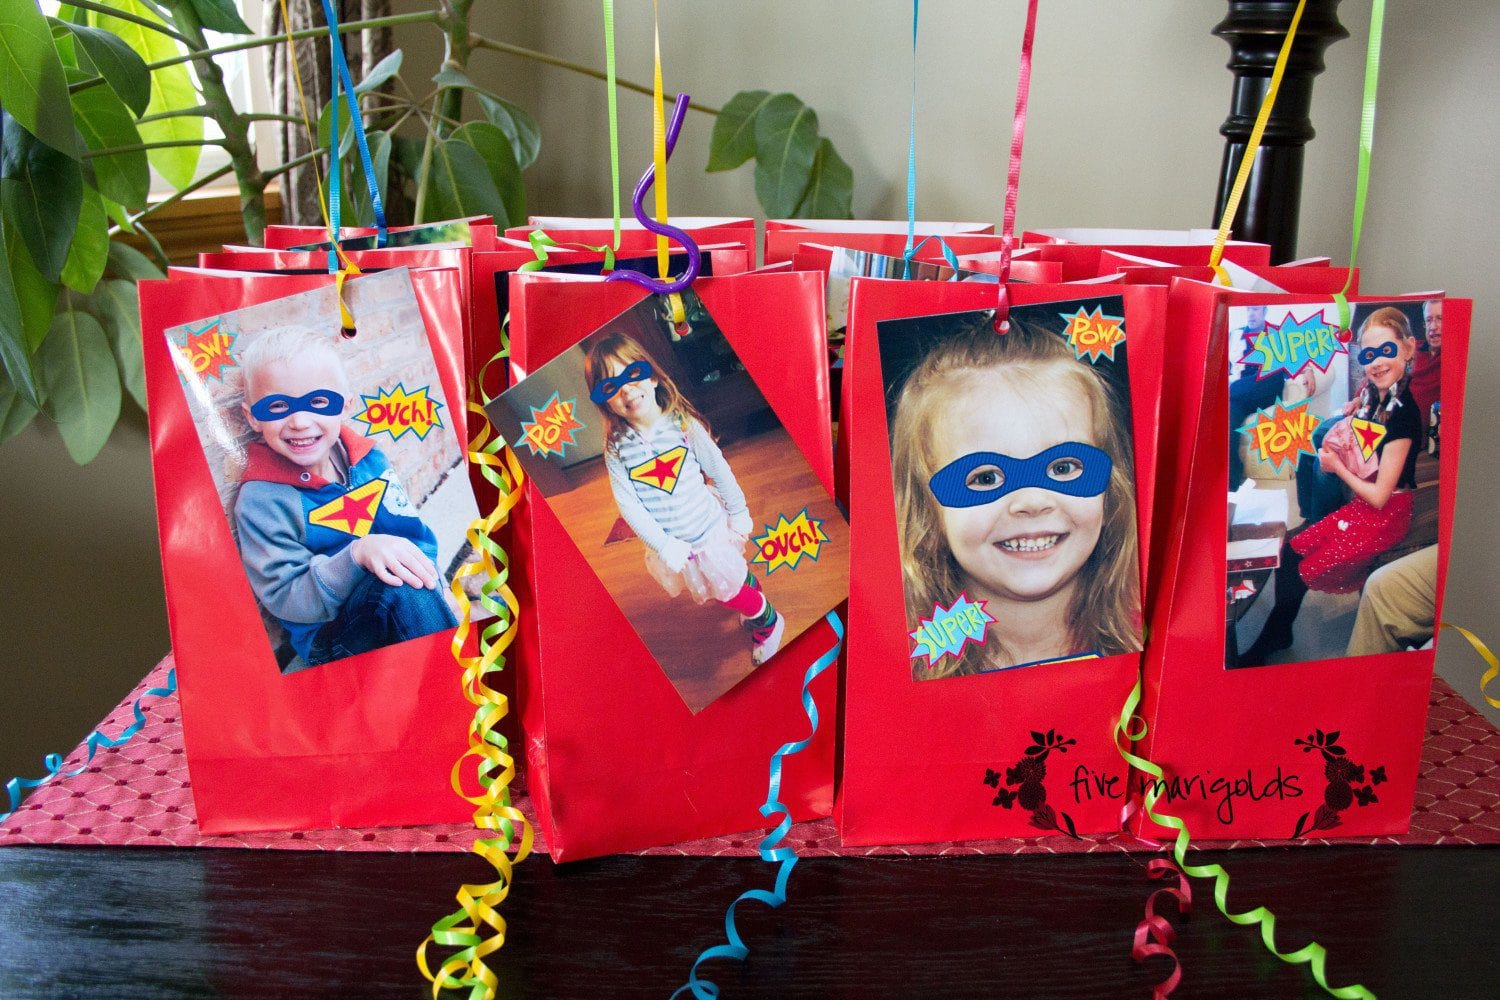
Growing up, we didn’t really “do” favor bags. I suppose that’s why I’m really into them when planning parties for my kids. Presents for everyone, just for attending?! I wish grown-up parties would adopt this practice!
I wanted to do something fun for these Star Wars birthday favors, with at least a few items that would get used beyond the ride home from the party. But, of course, I didn’t want to spend a lot of money.
I created these goodie bags for around $3 each, total.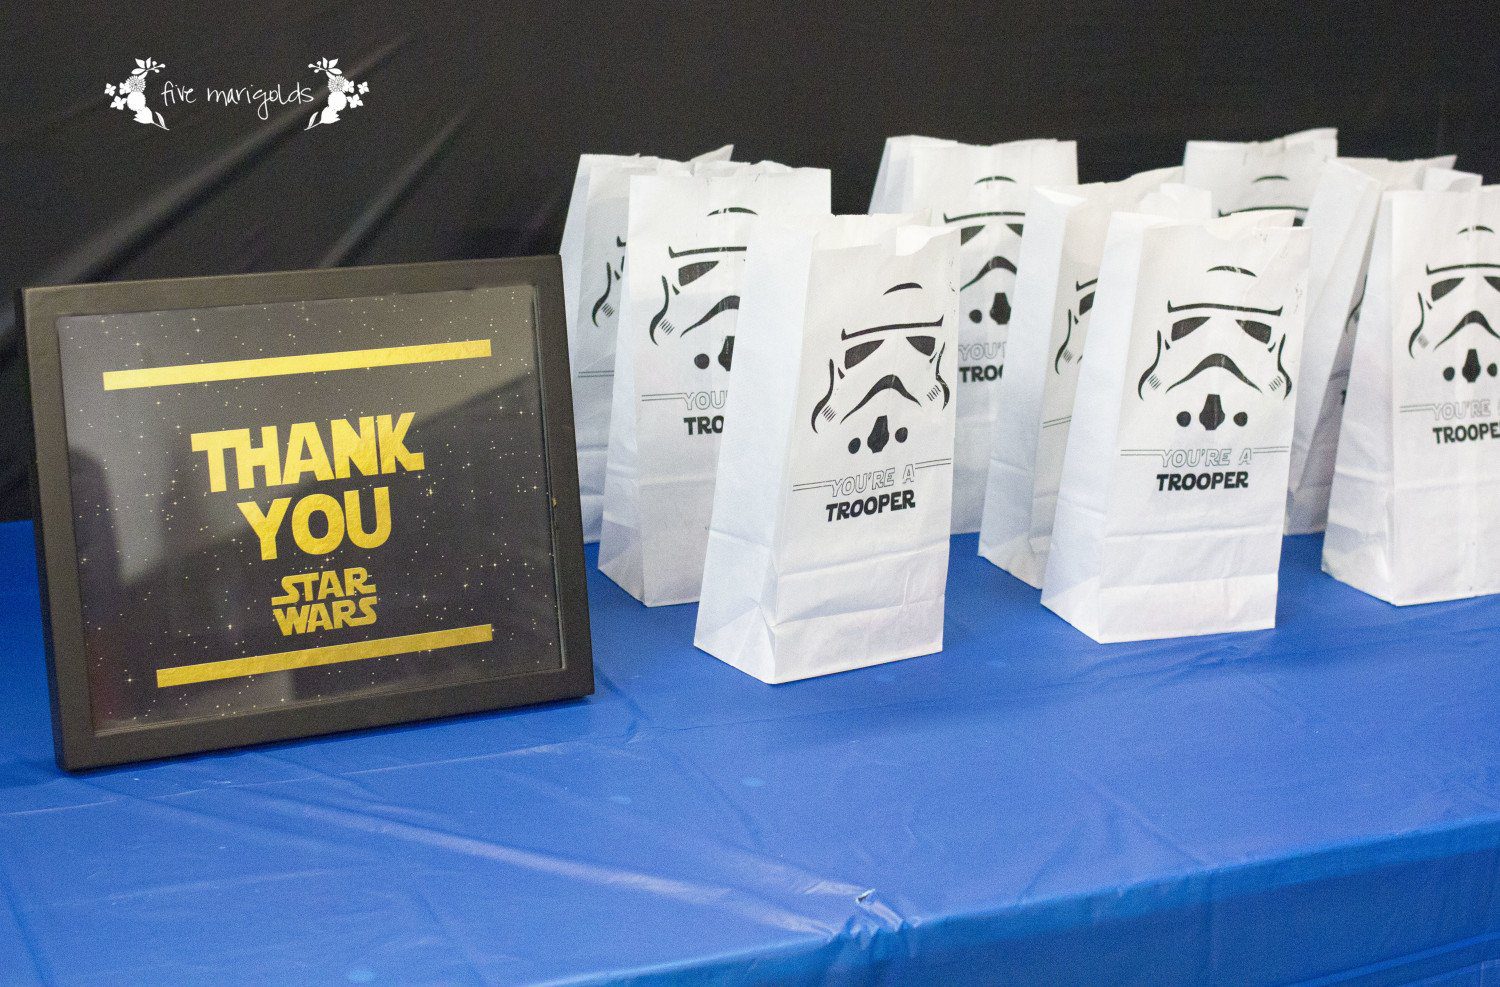
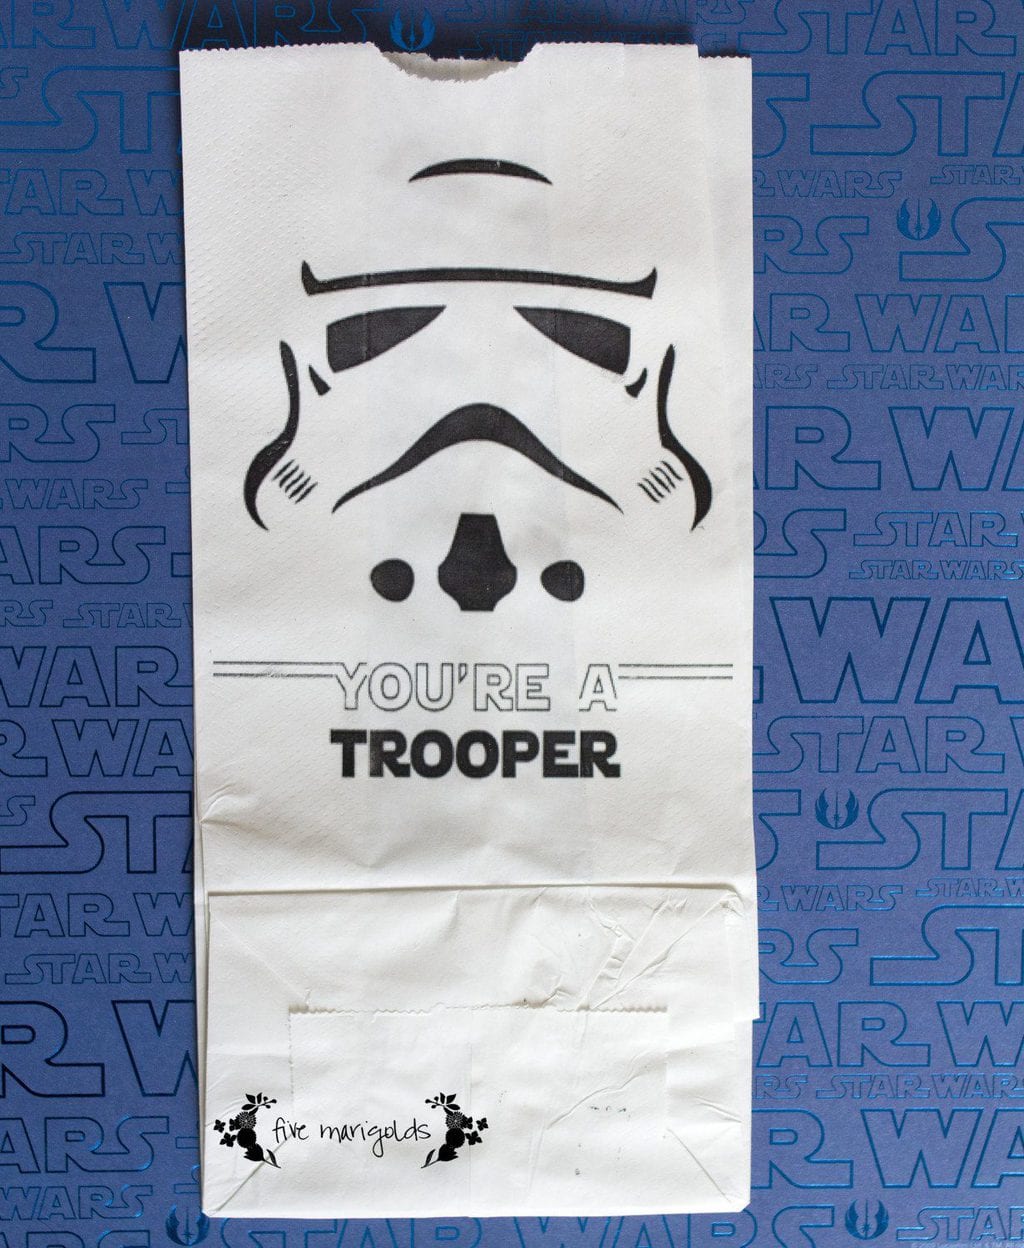
To create the actual bag, I used inexpensive white paper bags from the grocery store. I searched for the keywords “storm trooper silhouette” and found an image I like. I downloaded this free Star Jedi font and added the words “You’re a trooper” to the 5.5″x10.5″ template I created in PhotoShop. Read to the end of this post for the free printable!
I printed the image directly on the bags. To do this, you need to go into your printer settings and create a custom paper size and paper texture. I used a small piece of painter tape to secure the base flap to the bag so it wouldn’t jam in the printer. It took some trial and error before I felt like they were printing a clean image, without a lot of extra printer ink. I was going for inexpensive though, so despite a few rough printouts, these captured the look I was going for.
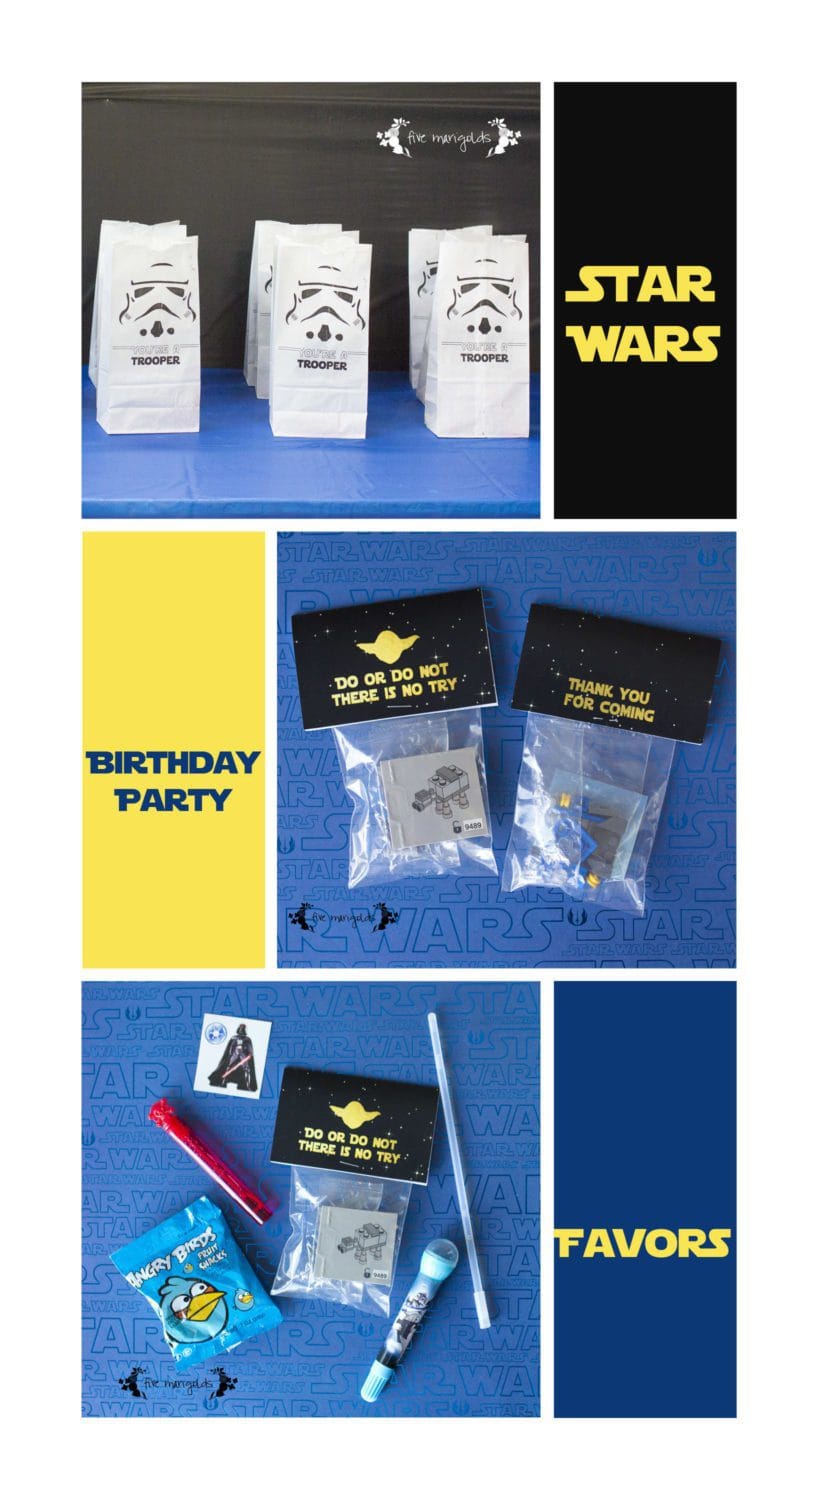
Here are the bag contents:

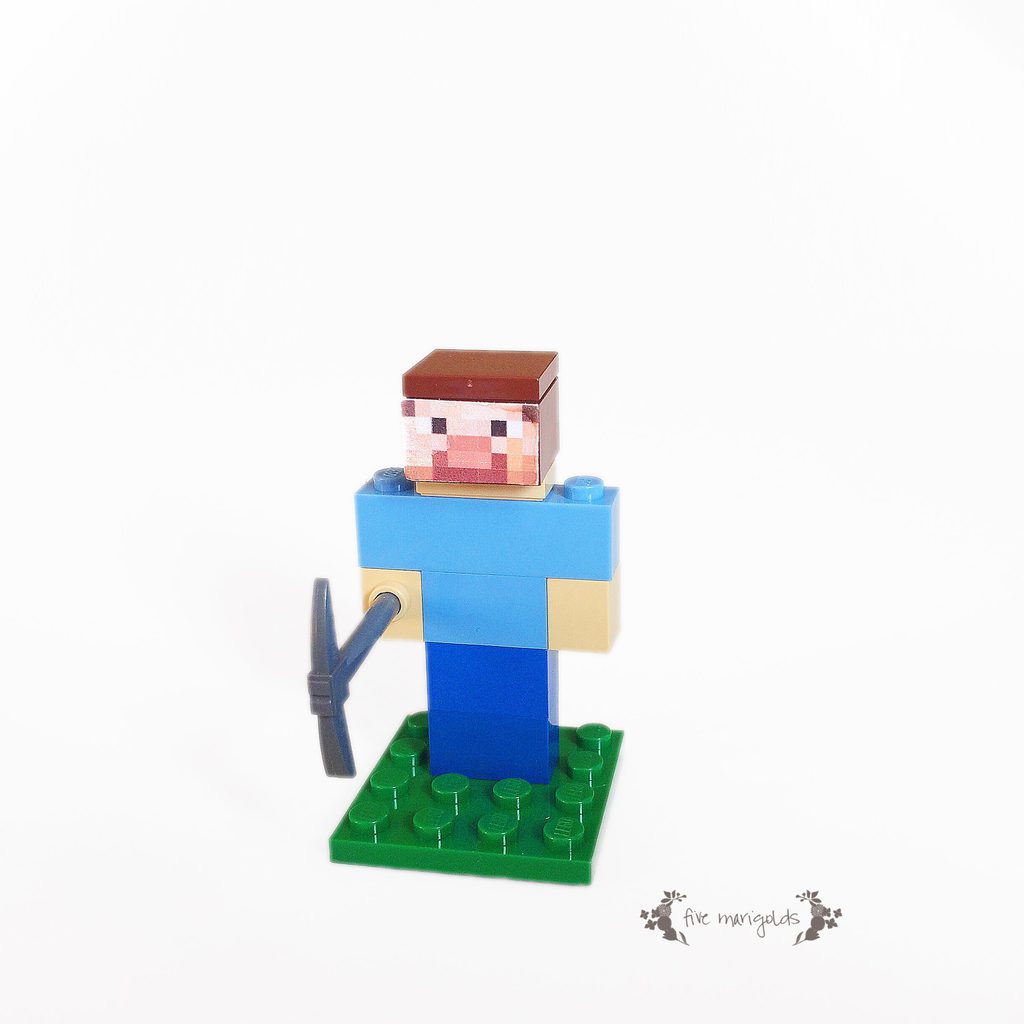
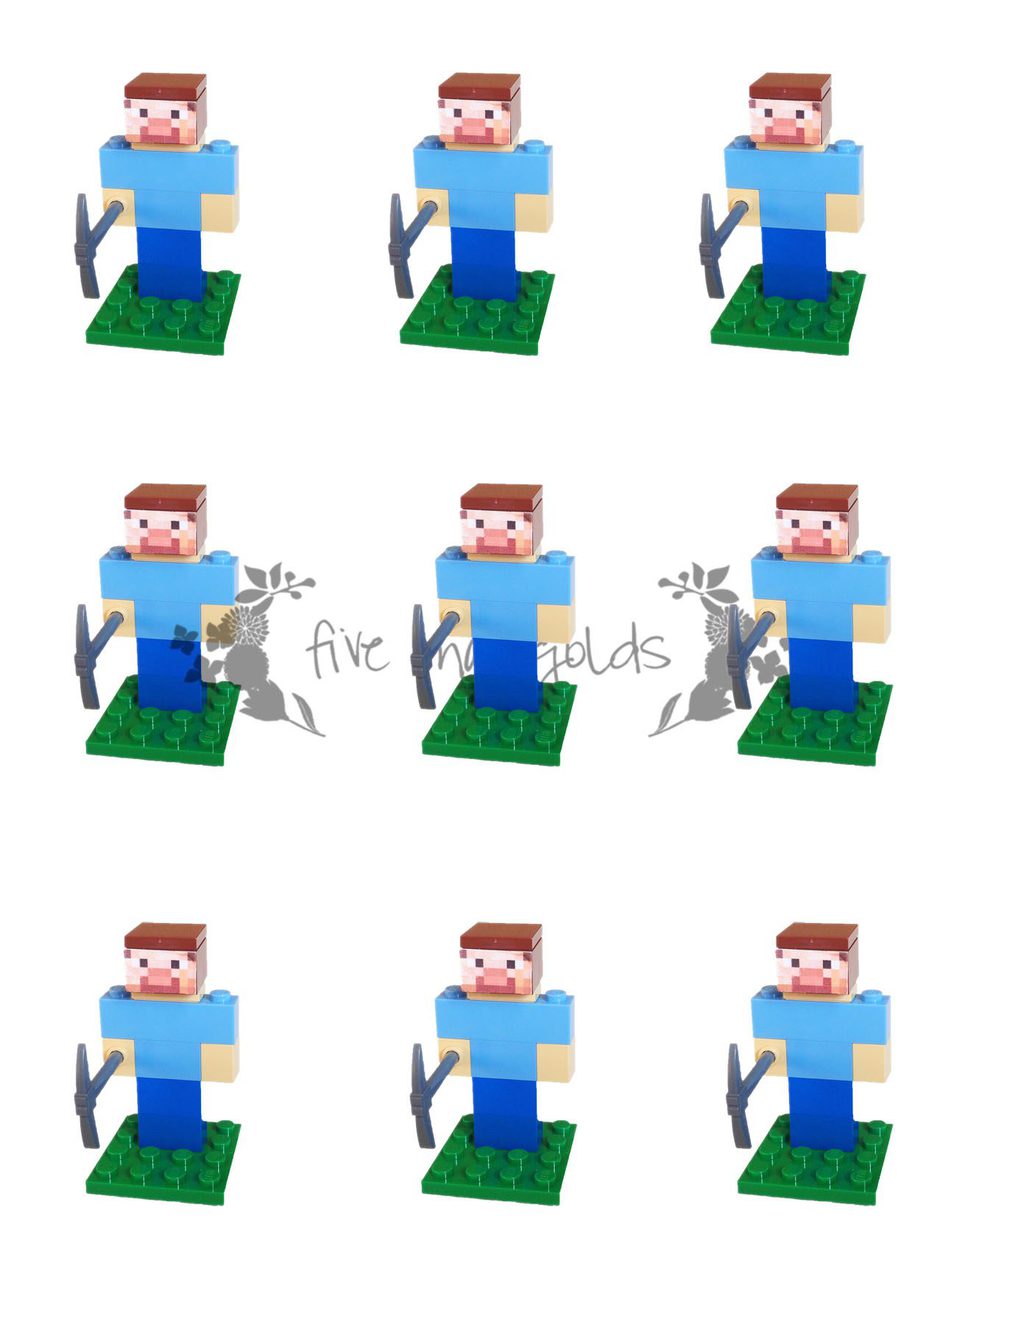
Knowing all the boys are really into Legos at this age, I really wanted to include some. I explored a lot of avenues, but almost everything was going to be a budget buster. I’ve heard of some creative moms creating their own little sets using the Pick a Brick section at the Lego store, but at $14.99/bucket, it was going to be a little more than I wanted to pay, and I wasn’t even sure if I could really build a believable spaceship.
I found my solution on ebay and Amazon: there are tons of people looking to unload Star Wars Advent Calendar kits or individual toys. I was able to score a lot of 11 for $1/each including shipping. Even better, each little kit came with building instructions – far better than what I would have been able to do myself using Pick a Brick. For those of you who have messaged me about being unable to find these deals on ebay, you can still find them here for less than $2 per favor!
I created my own hangtag using the same Star Wars font with a message from Yoda, “Do or do not, there is no try” along with a thank you message.

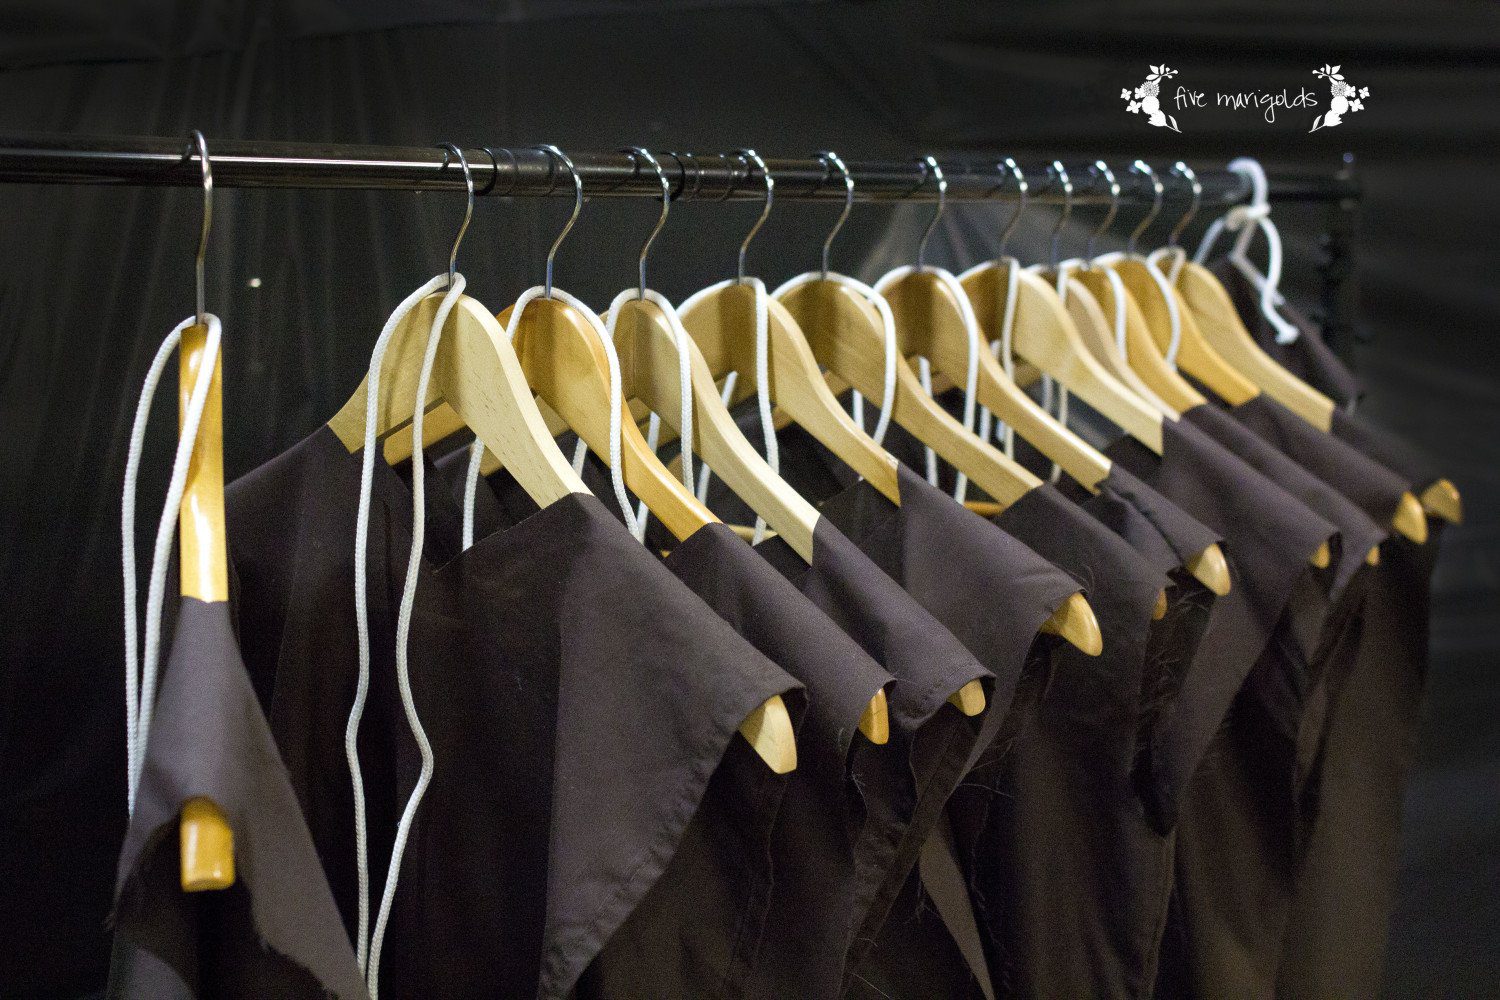
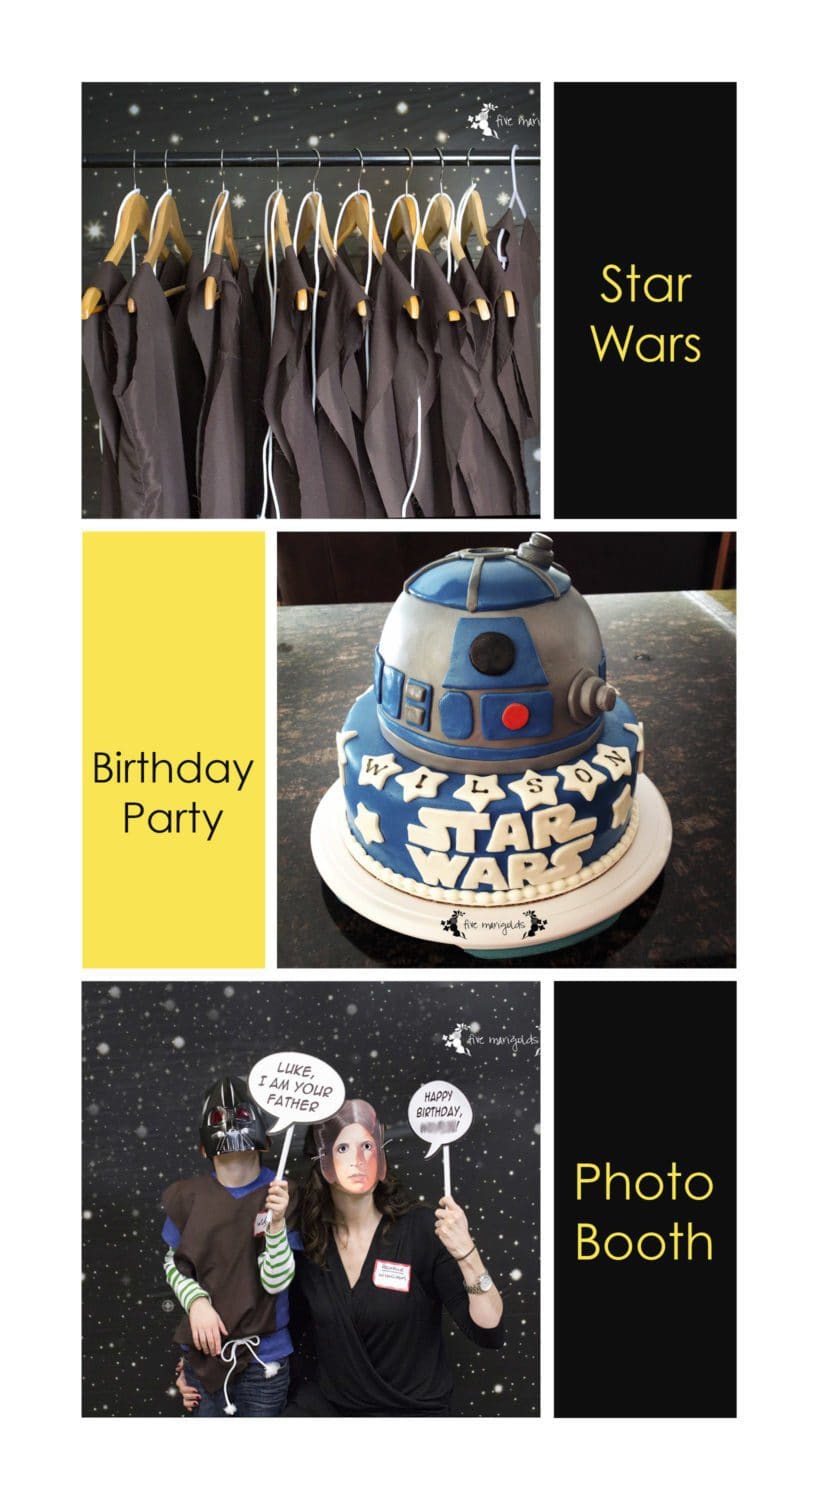
In addition to the goodie bags, we had a Jedi Training academy. We gave each little guest a Jedi vest made with an unused bed sheet we didn’t need and clothesline rope.

We also created the pool noodle lightsabers that are all the rage on Pinterest. We cut pool noodles in half using a serrated bread knife and decorated the ends with black and silver duct tape. Each little guest was given one to defeat some balloon storm troopers and then take home.These were the biggest hit of the party (literally, there was one bloody nose incident!).

No party is complete without a little craft, so we also had a Build A Droid work station that they seemed to enjoy. But not quite as much as the pool noodle light sabers, of course.

Build a Droid Star Wars Craft
I had a lot of fun creating a fun party all the kids would enjoy. Planning a Star Wars party for someone special? I’m sharing the free printable Storm Trooper Favor Bag Design to my subscribers!
Are you planning to use them for your upcoming party? Please take a moment to tell me about it, below!
See also:

Star Wars Birthday Party, Part I

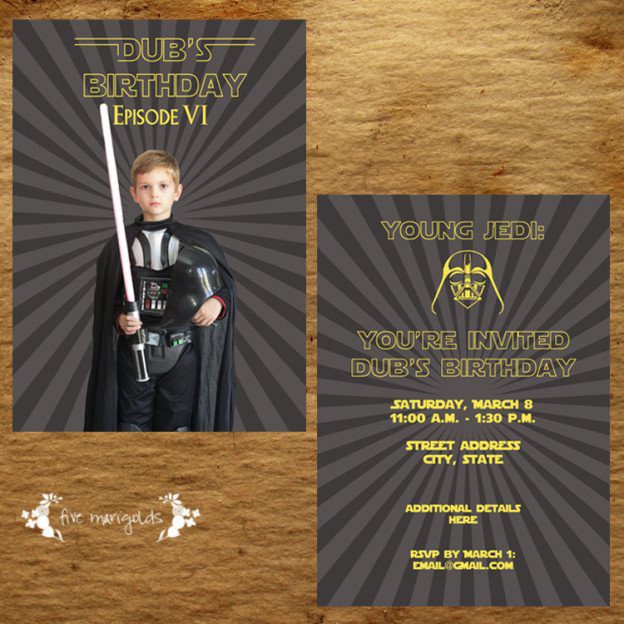
Star Wars Part III: Custom Invitations and Thank You Postcards


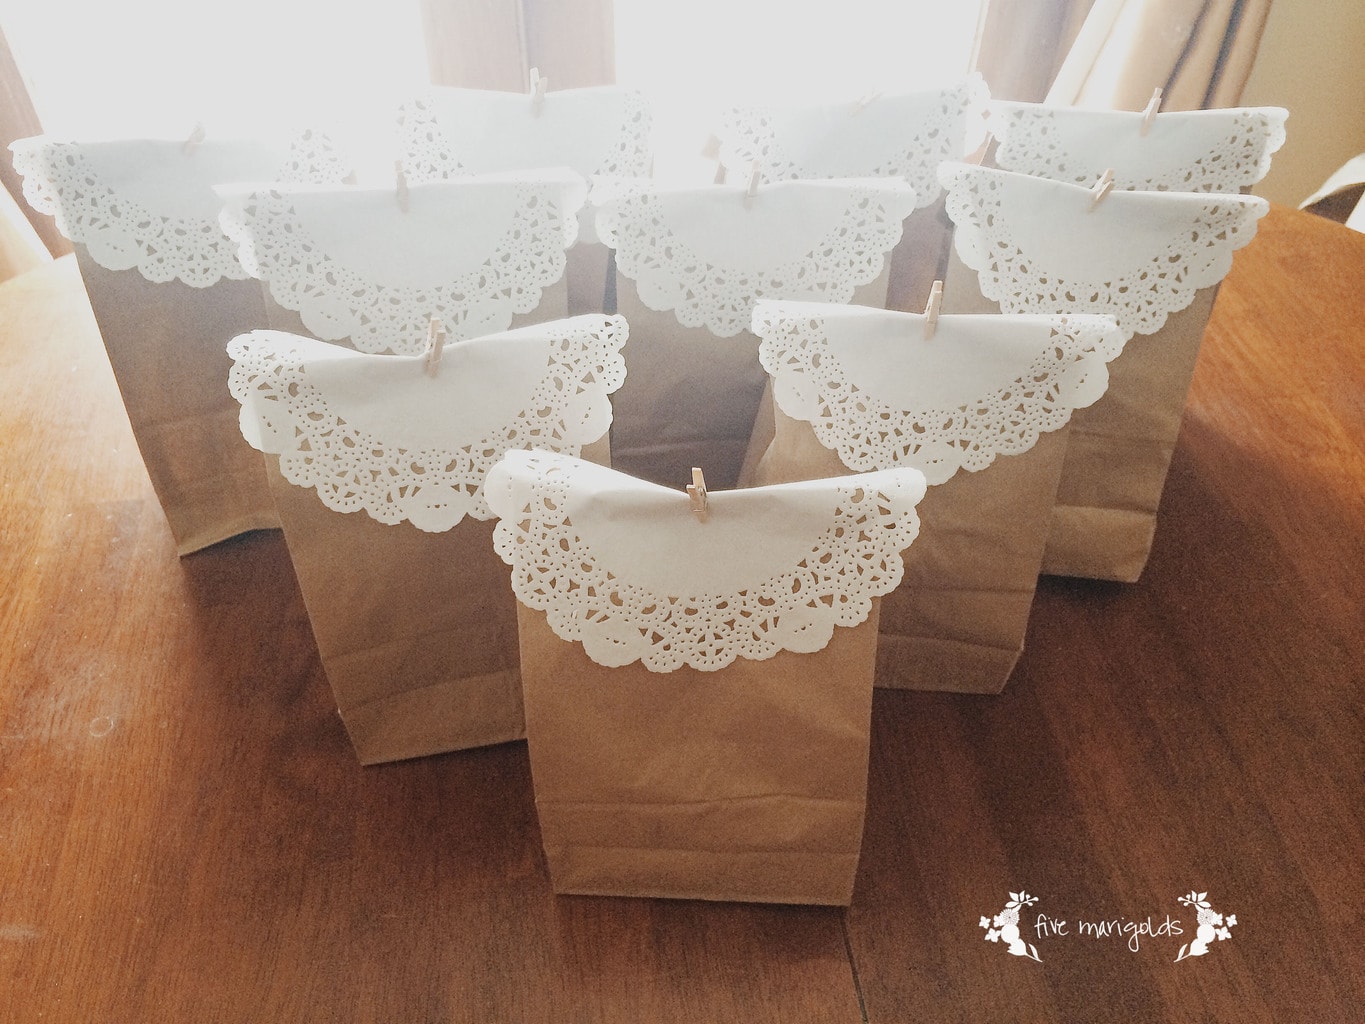
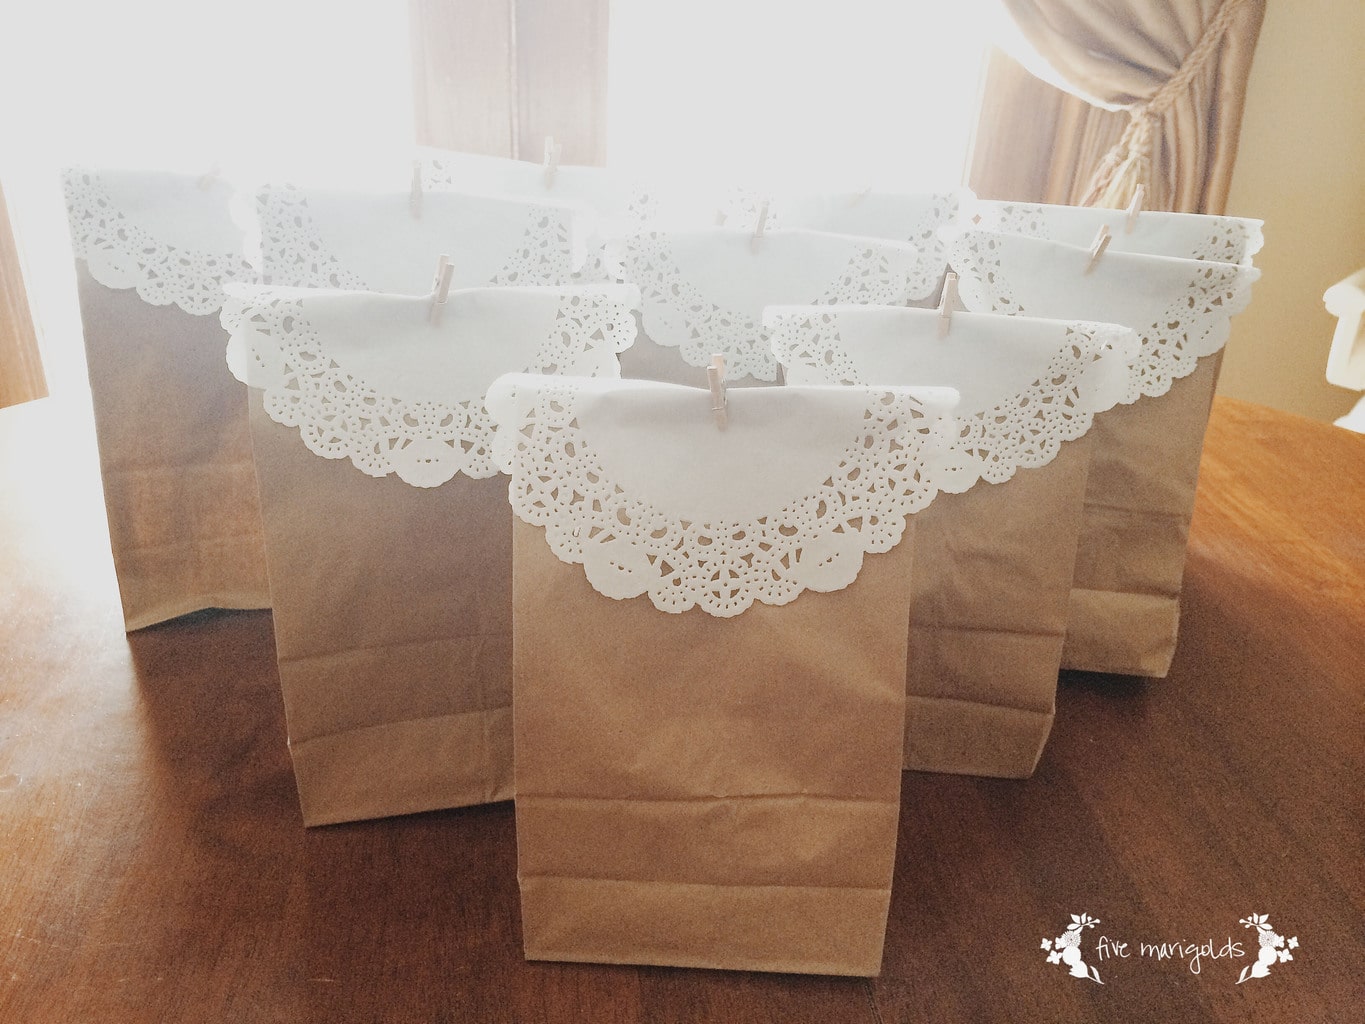
 Dress up a common paper lunch bag to be something extra special! EClaire needed to take favor bags to school for her half birthday (summer birthday problems!). I had a few awkwardly shaped items so I needed a decent-sized bag, but I didn’t want to spend much.
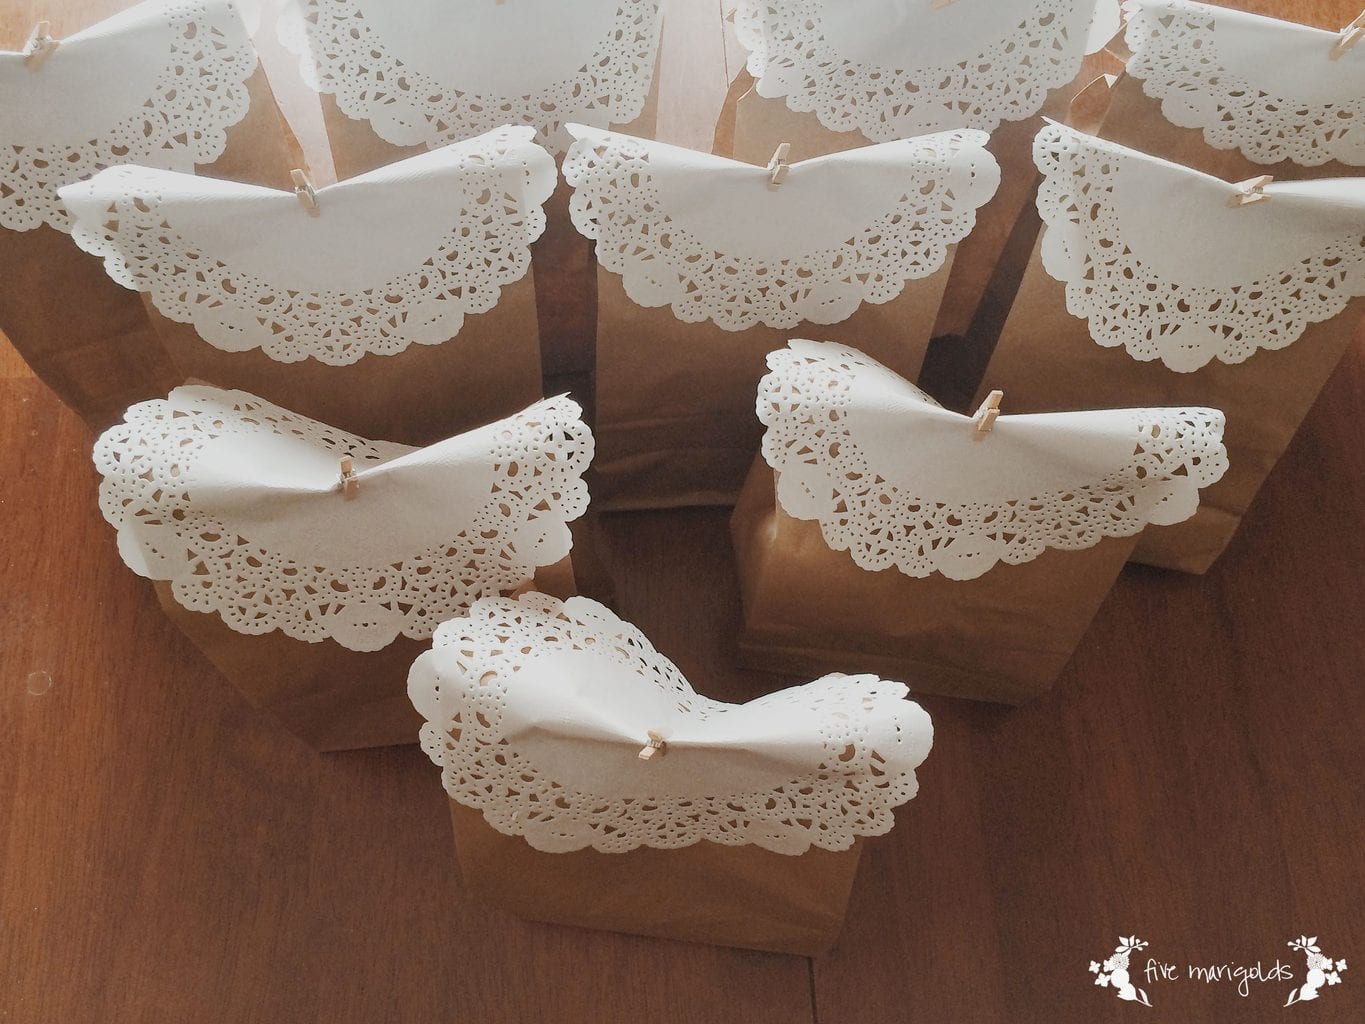


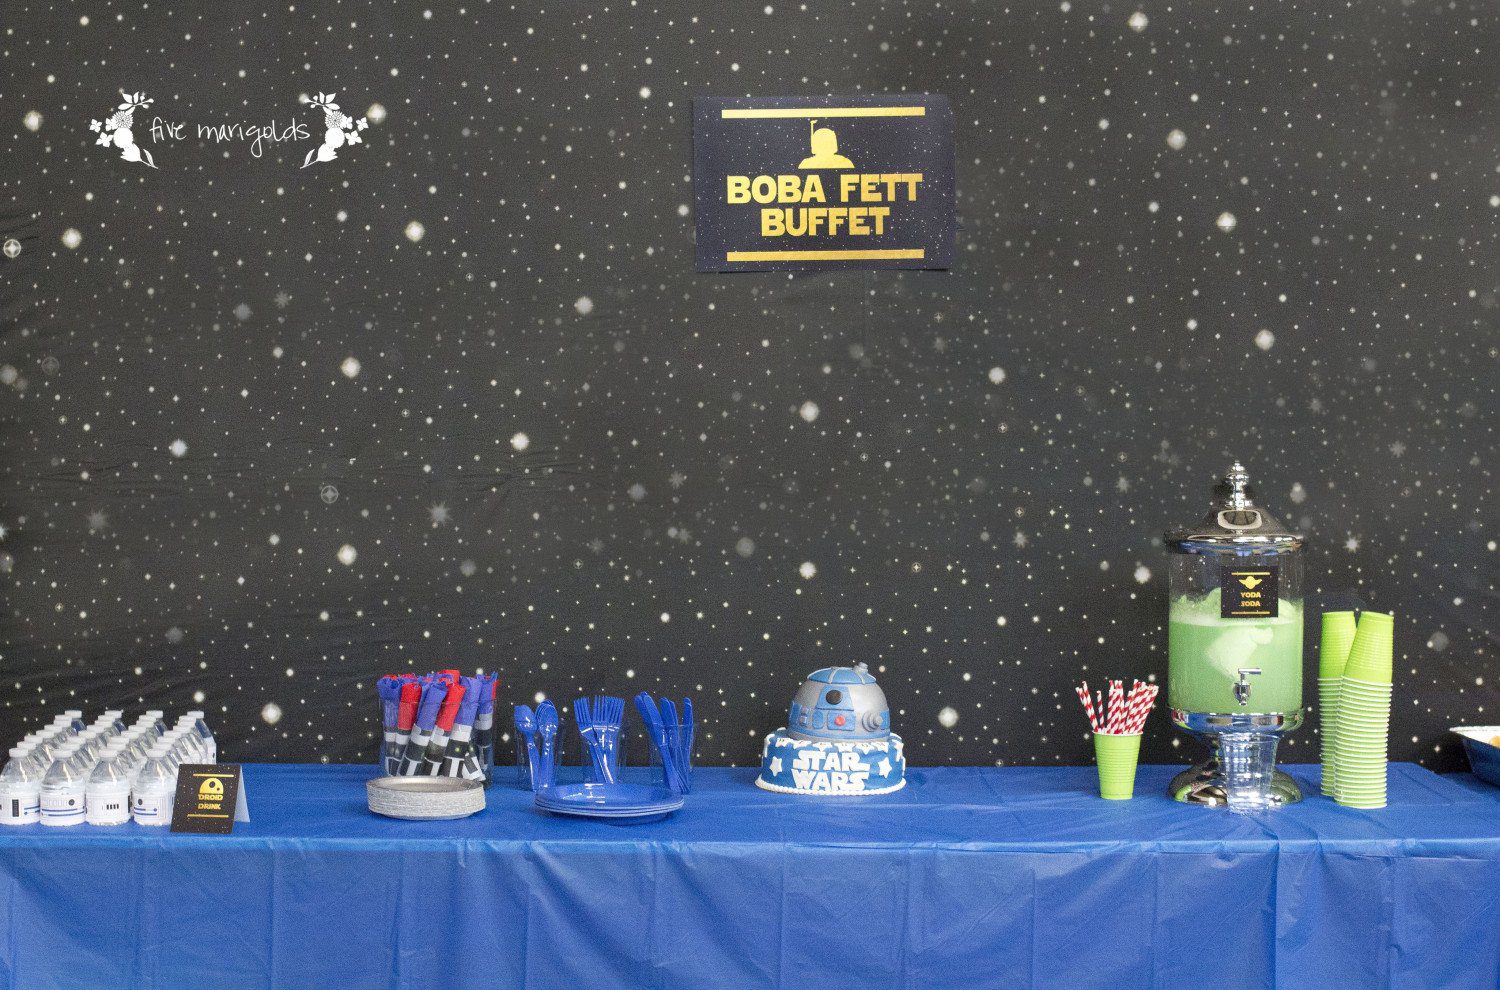
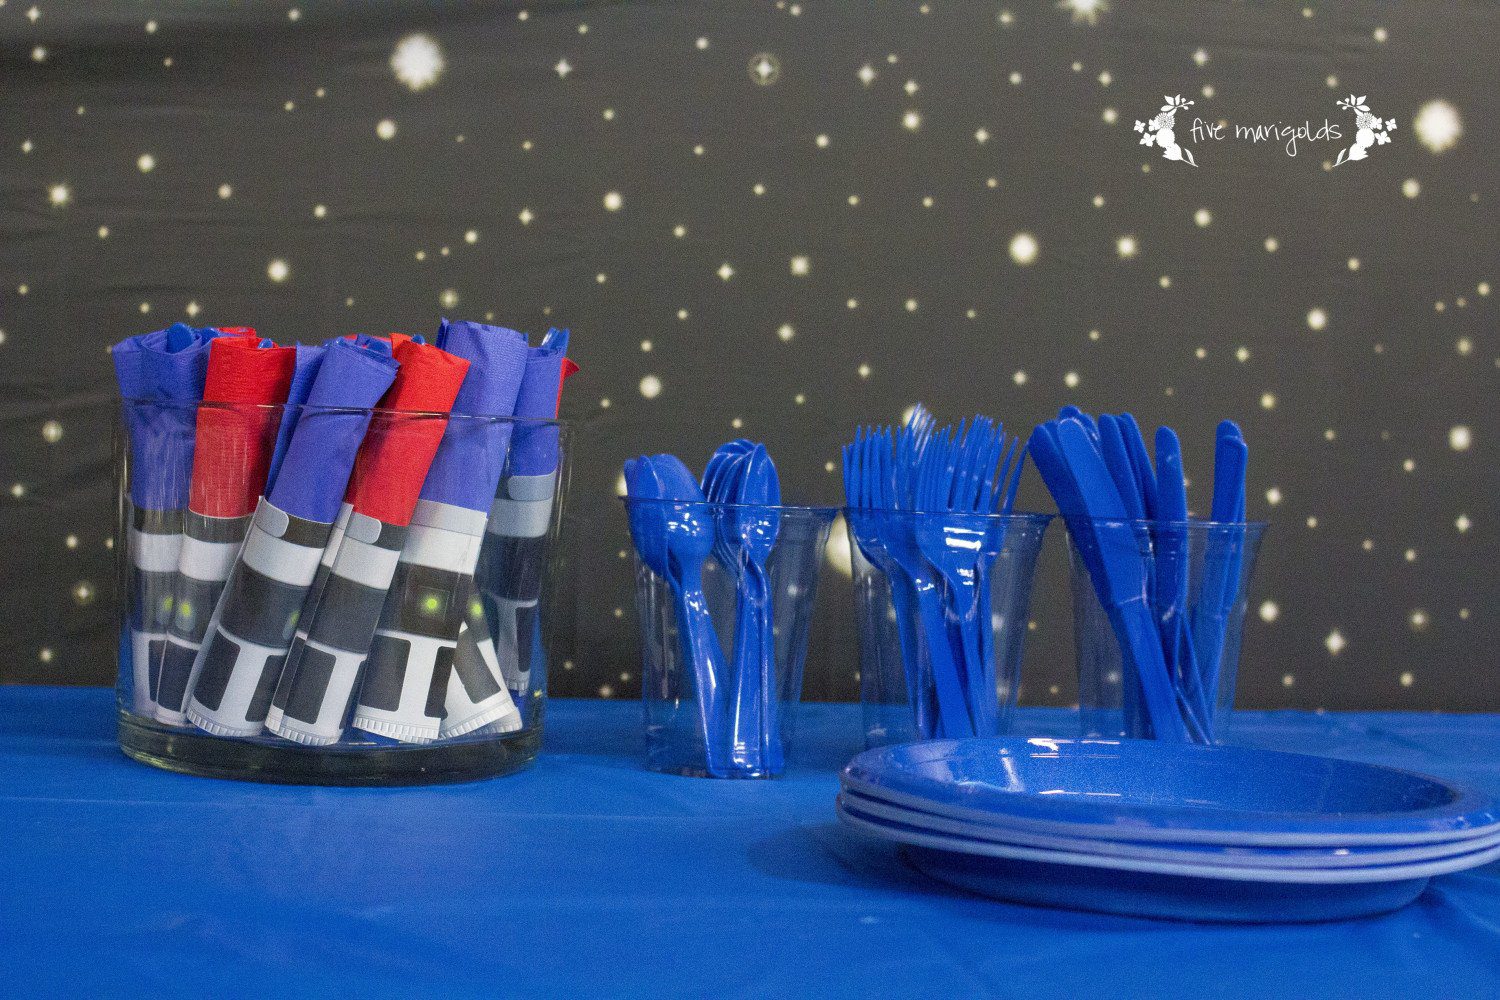

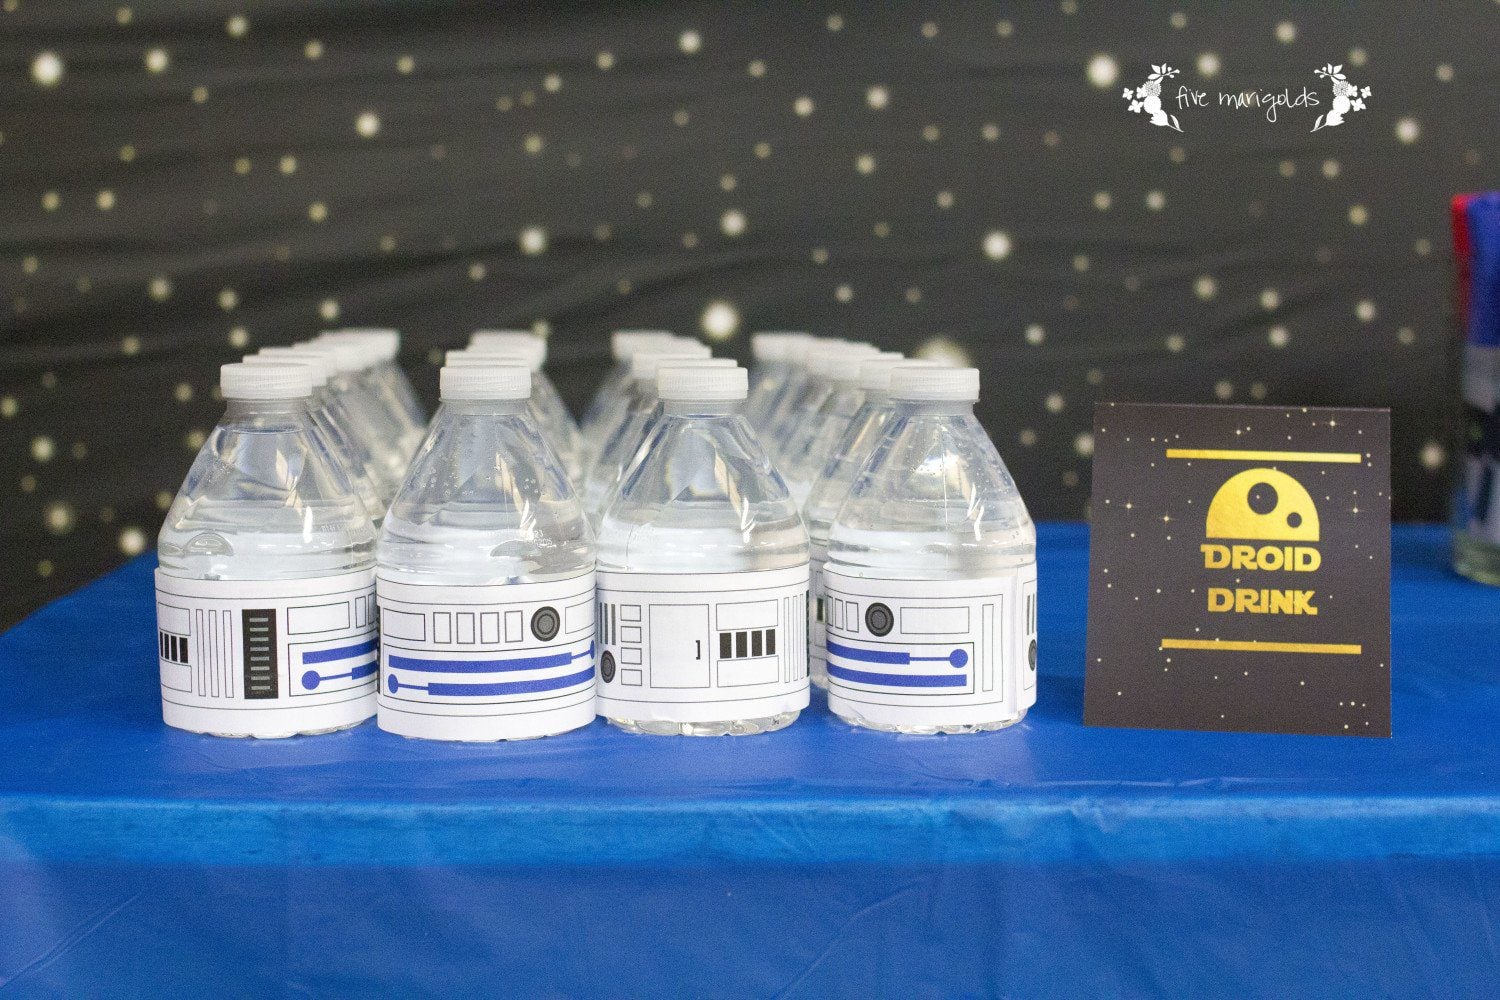
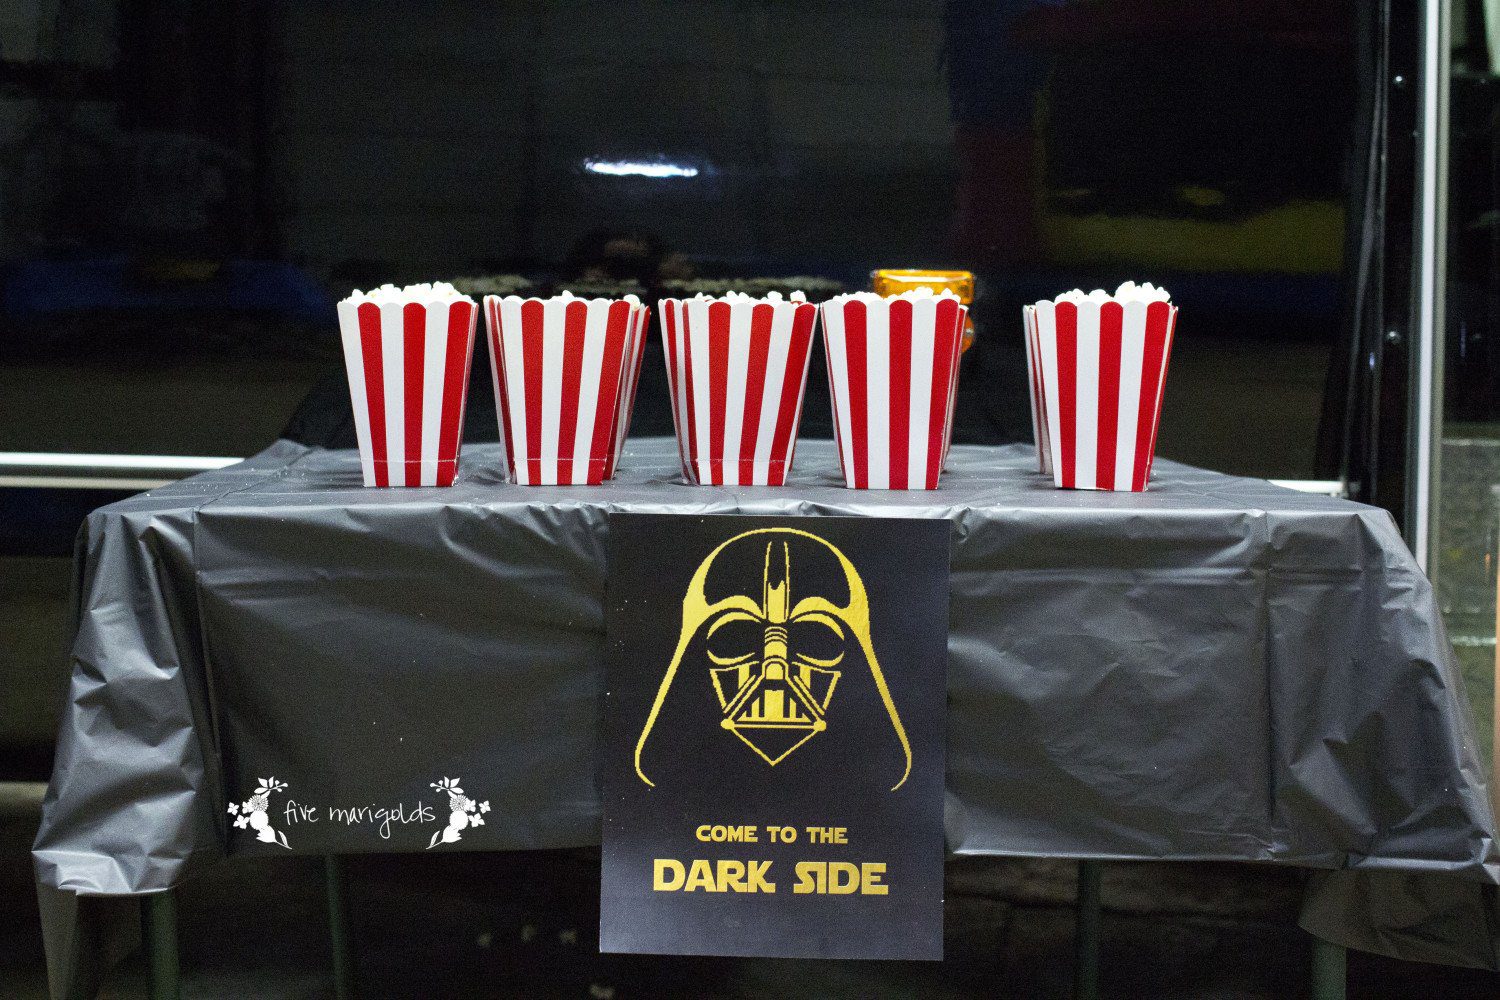
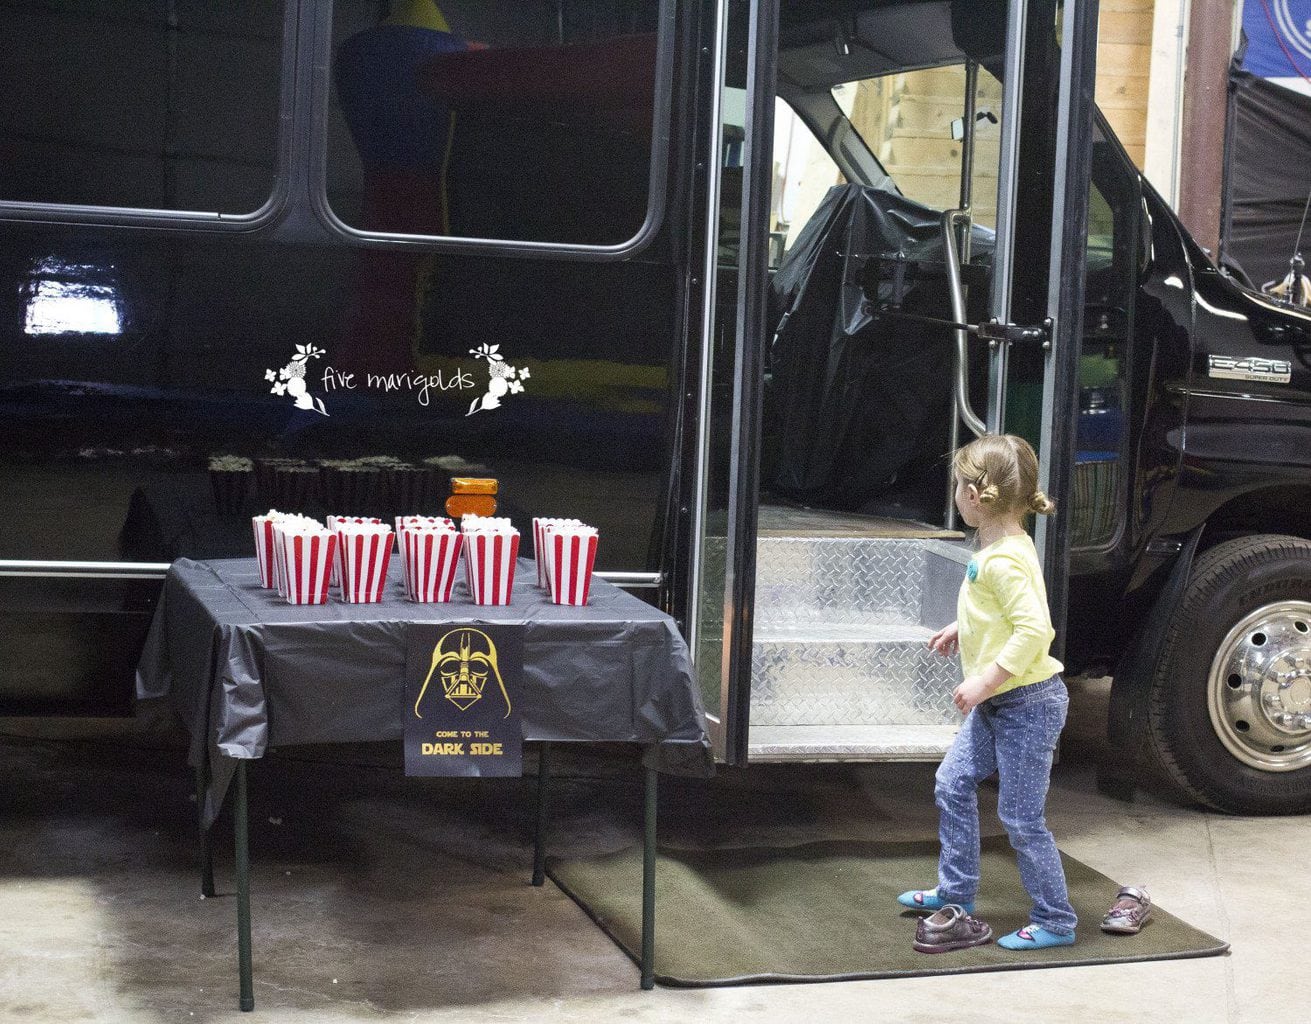

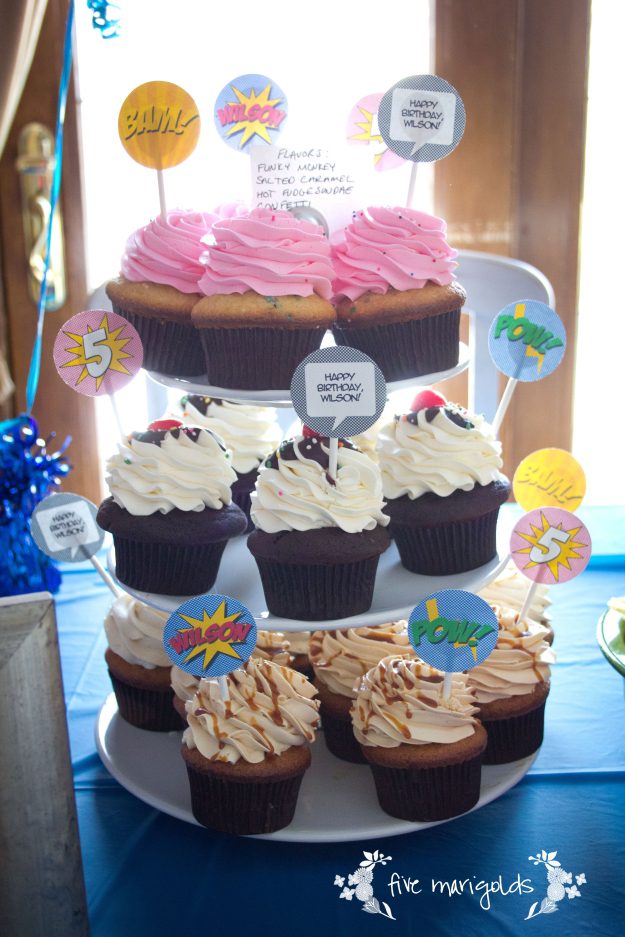
 That concludes the food portion of our Star Wars birthday party. Stay tuned for more on our photo booth and Jedi Training activitites! Looking for more Star Wars birthday party ideas? Find my Pinterest inspiration board