
Vintage Dollhouse Makeover series:
Part I Vintage Dollhouse, Part II Exterior, Part III Boy’s Room, Part IV Girl’s Room, Part V Laundry / Bathroom, Part VI Living Room, Part VII Kitchen, Part VIII Play Room + Final Reveal
I’m so excited to share my vintage dollhouse girl room remodel with you! It has been such a vicariously fun exercise to decorate an entire girl’s room for less than $10.
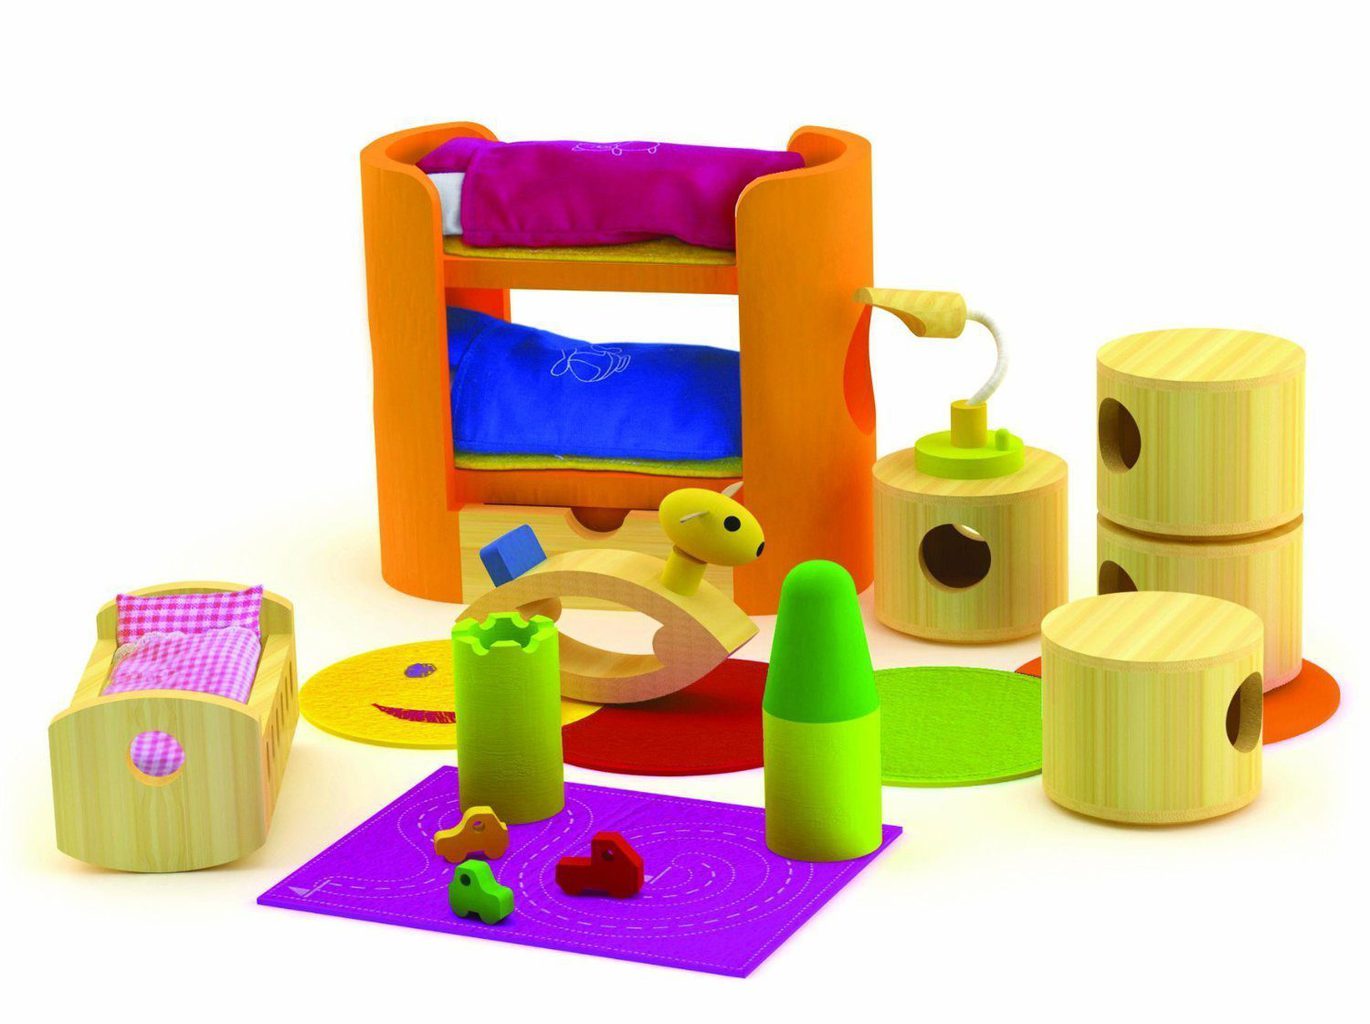
When I scoured the internet for inspiration, I was drawn to the darling sets by Daisylane, Lundby and Hape. However, I was working with a minimal budget, so I set to work creating the look for less.
This post may contain affiliate links. Please read my privacy policy and disclosures.


As a little reminder, this is what I started with:

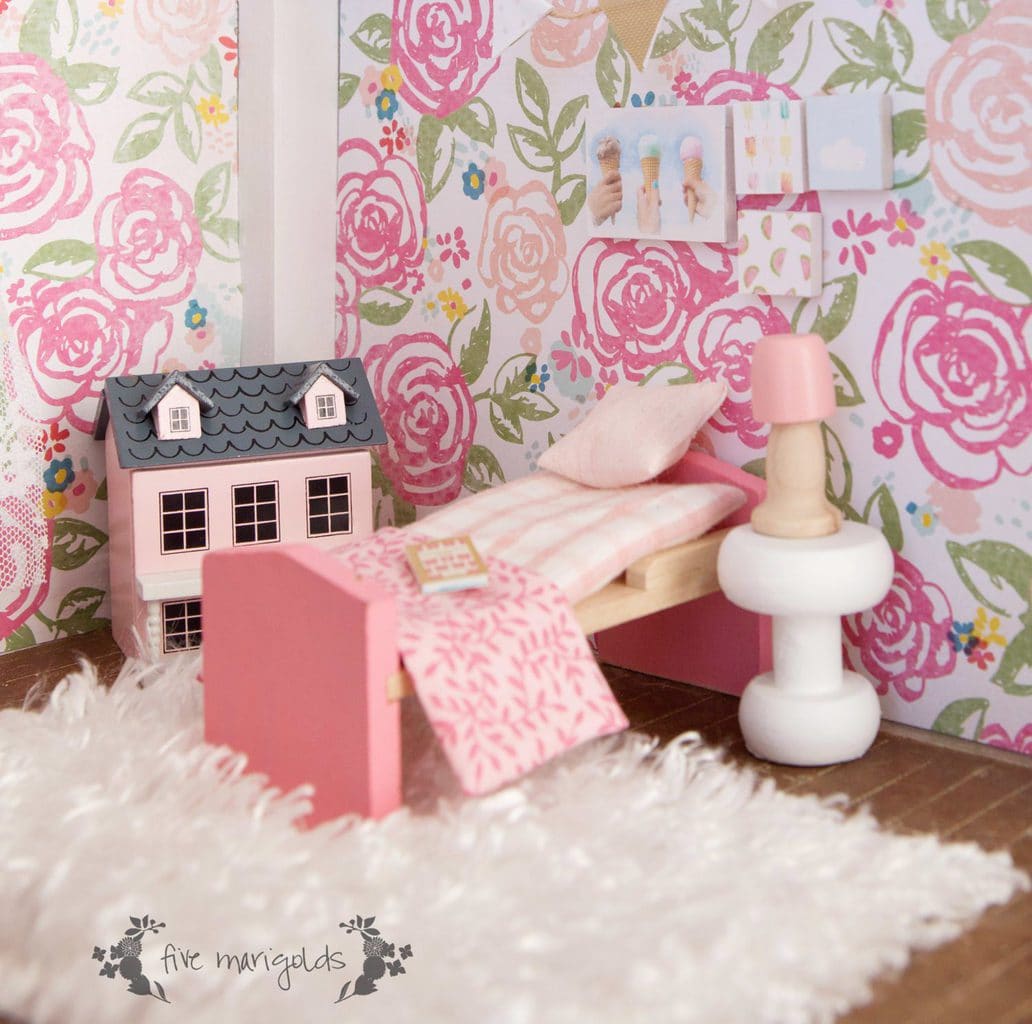
And here is where I ended up: 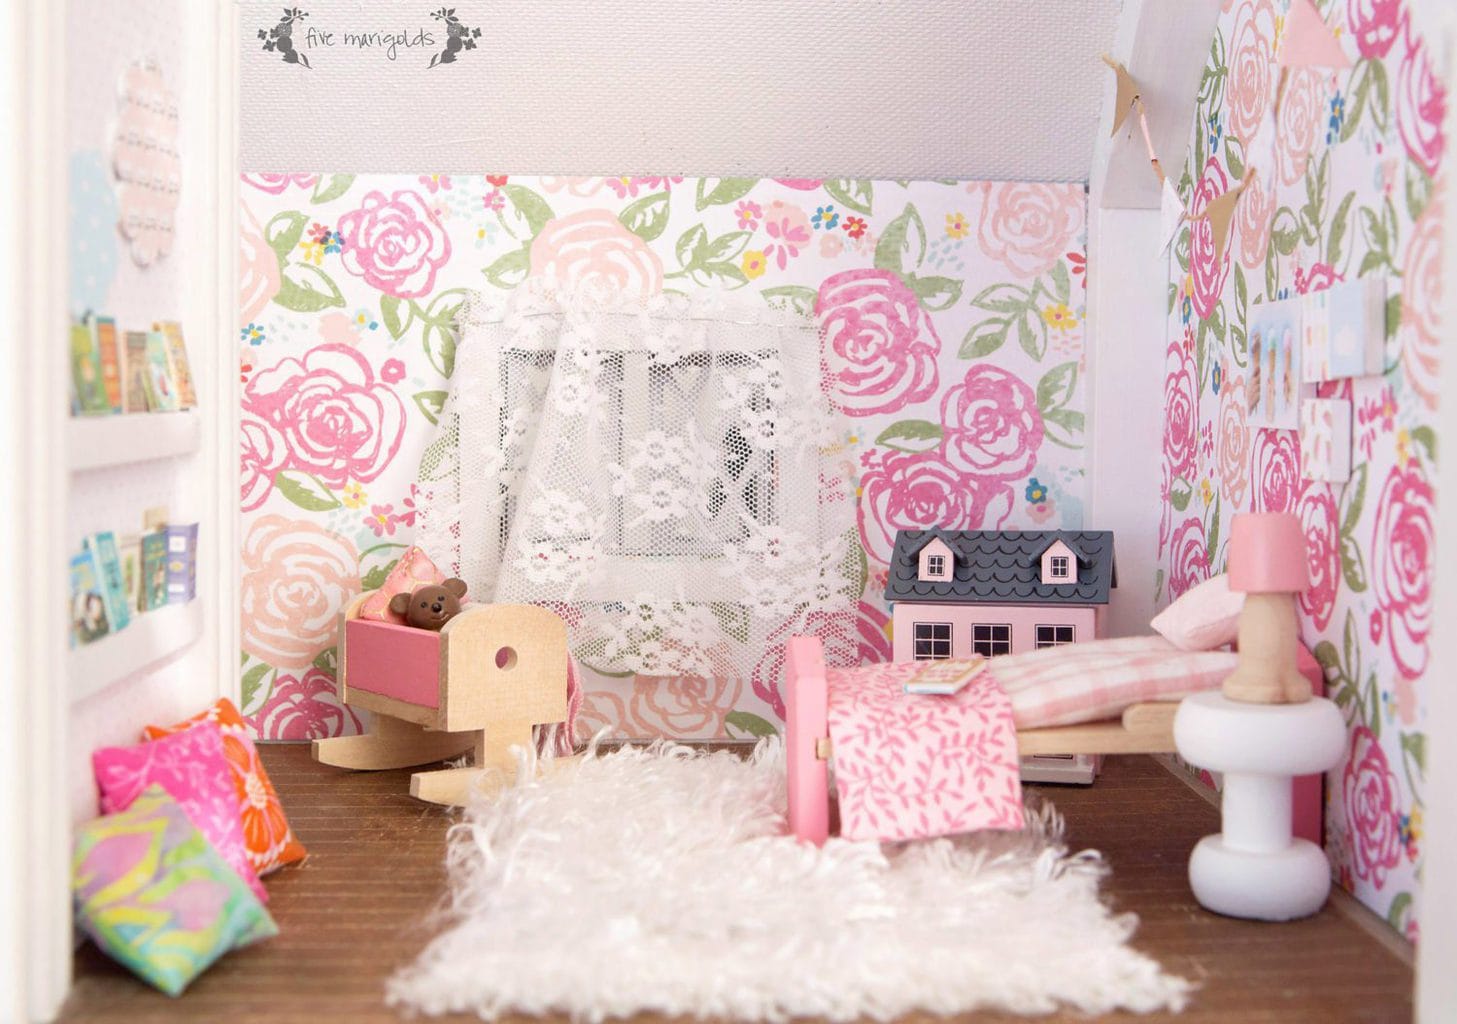
My taste in girly decor doesn’t fall too far from my own reality – there are many similarities between this room and my girls’ rooms here and here.
I did have freedom to go bold with the walls though, and that’s what I did. I used this beautiful floral scrapbook “wallpaper” and took my color cues from there,
As mentioned in the Boy Bedroom makeover of this series, I was able to split this inexpensive miniature bedroom furniture set. I split the bunk bed to get this twin bed. I used an end table and lamp from another furniture set (more on that later!) to use as a night stand.
I used scrap fabric to sew a duvet cover and pillow. I created a mini faux canvas out of a picture I took this summer. The other images I designed or came from free artwork (mostly from DesignLoveFest / pinned here) and scaled to size, then glued to Scrabble tiles.
I already had the pink miniature dollhouse. It’s a little bigger than scale, but every girl needs a dollhouse, right?

I love this little reading nook. with floating shelves and floor cushions. To make the books, I pinned miniature book covers that I shrunk to scale and printed on card stock. I wrapped these miniature covers over craft foam to look like pages. I could use a reading nook like this in my own home!

Finally, I added a scrap of costume fur, leftover from my daughter’s poodle costume, for a big fur rug to lighten up the space.
Price Breakdown: Dollhouse Girl’s Room
- Wallpaper $0.90
- Rug: $0 *
- Furniture: $8 **
- Bedding: $0 *
- Art and accessories: $0.60 for bunting
- TOTAL = $9.50
*Used materials I already had on hand.
**Some furniture for this room was pieced together from sets from other rooms, and will be reflected in those posts.
What do you think of my dollhouse girl room? If you like this post, be sure to subscribe below to get more updates on the dollhouse renovations and follow my Pinterest dollhouse inspiration board. In the meantime, follow my other vintage dollhouse makeover posts here:

This is so cute! Can’t wait to see your next room!
You did a wonderful job! The doll house come really pretty.
So very cute! Thanks for sharing with the Thursday Blog Hop!
Seriously this is amazing. Love the floral wall paper. So pretty. Your patience is admirable! I would never be able to do something like this.