My baby girl just turned one and because her birthday is exactly a week after Dub’s, I’ll admit I ran out of steam on the party planning. However, I wanted to do something special and celebrate as a family, and was able to put together a cute Bow Birthday theme really inexpensively.
To keep birthday party planning expenses manageable, we buy a few essentials that we reuse year after year.
These include:
- Bunting (similar here and here)
- Centerpieces
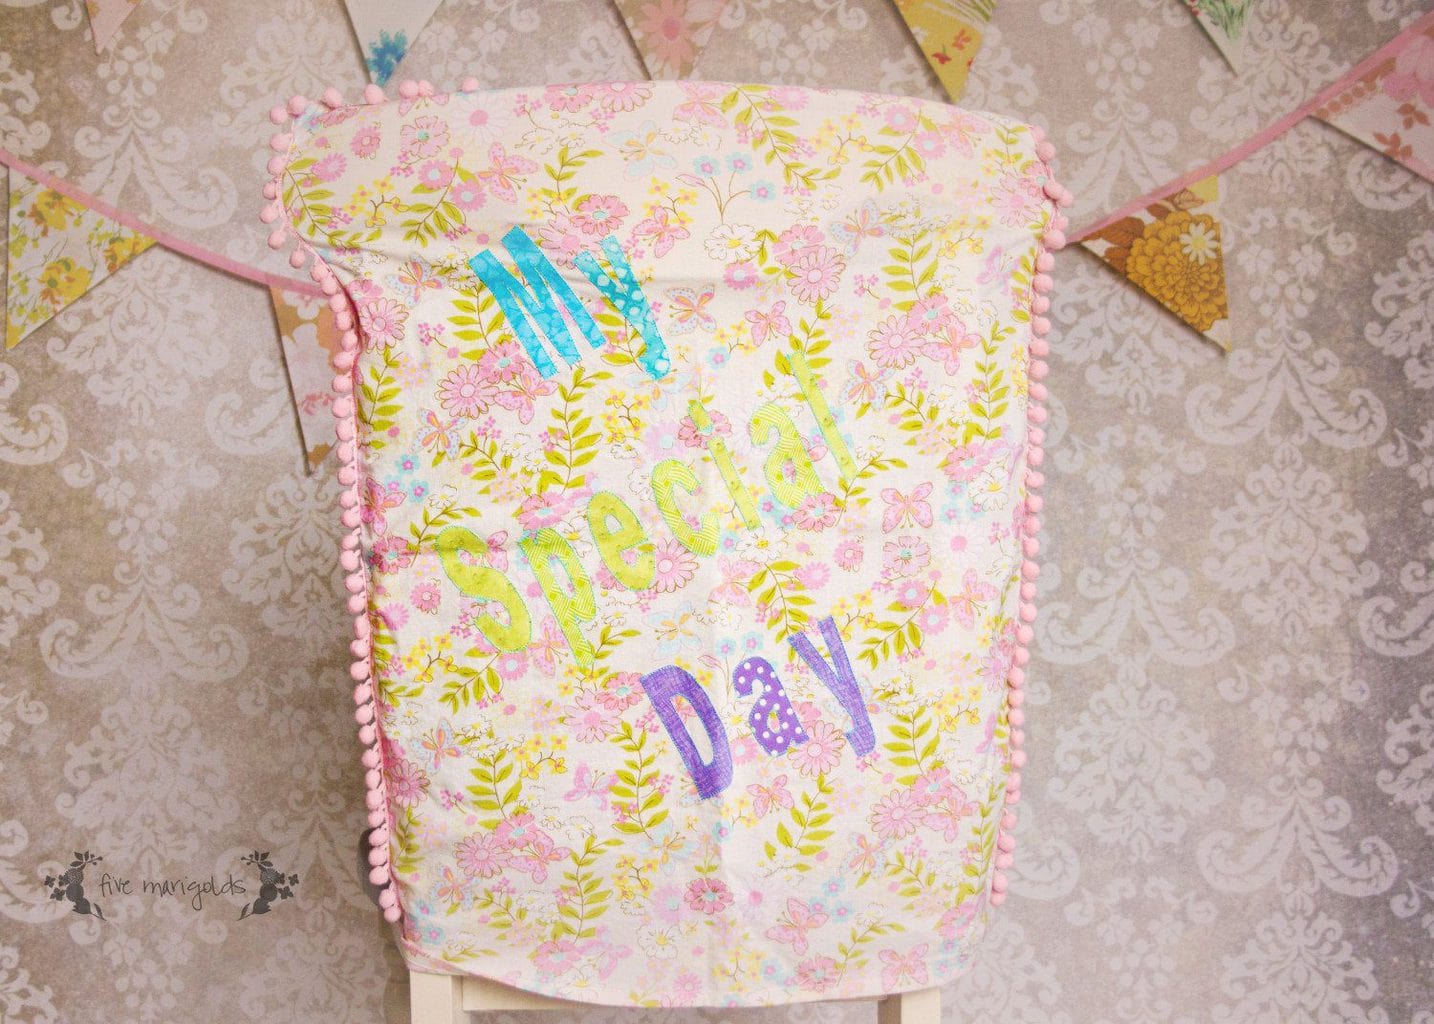
- My Special Day chair covers that we reuse for birthdays, first days of school, and any day we want to recognize and celebrate each child individually.
Additionally, we always save leftover party supplies such as napkins, plates and plastic cutlery and every few years we find we don’t have to buy these supplies at all because of that stash. That was the case for baby ‘Belle’s party.
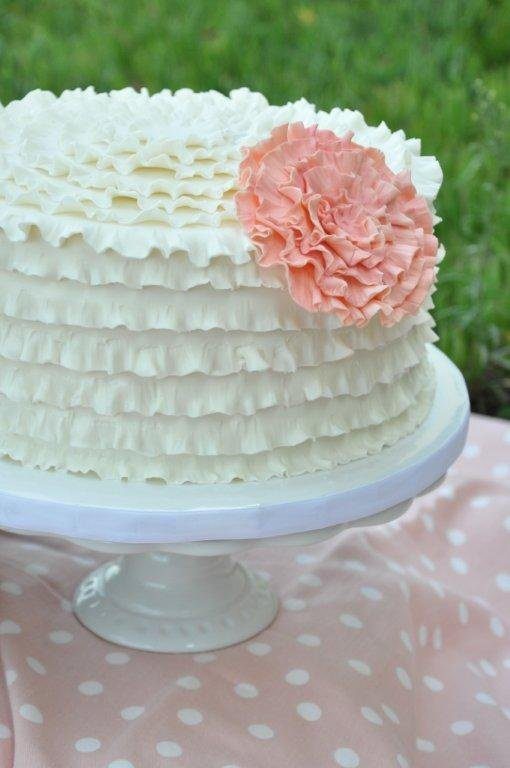
For the cupcakes, I whipped up a batch of vanilla and chocolate cupcakes and frosted them in pink and white buttercream frosting. I wanted them to carry out the bow theme, but because I’m lacking in fondant skills I purchased these toppers. You can find similar fondant bows here and here.


We served homemade vanilla ice cream and a simple punch using 7-Up and raspberry sherbet.
With just two inexpensive plastic tablecloths from the dollar store, I made this impressive table centerpiece by using one tablecloth as usual, and using the other as a decorative sash by draping it across the front and simply pinching it in the middle. I actually unfolded some of the party napkins and fashioned a bow out of them – one napkin for each side of the bow, and two for the tails. Surprisingly beautiful, easy and inexpensive!

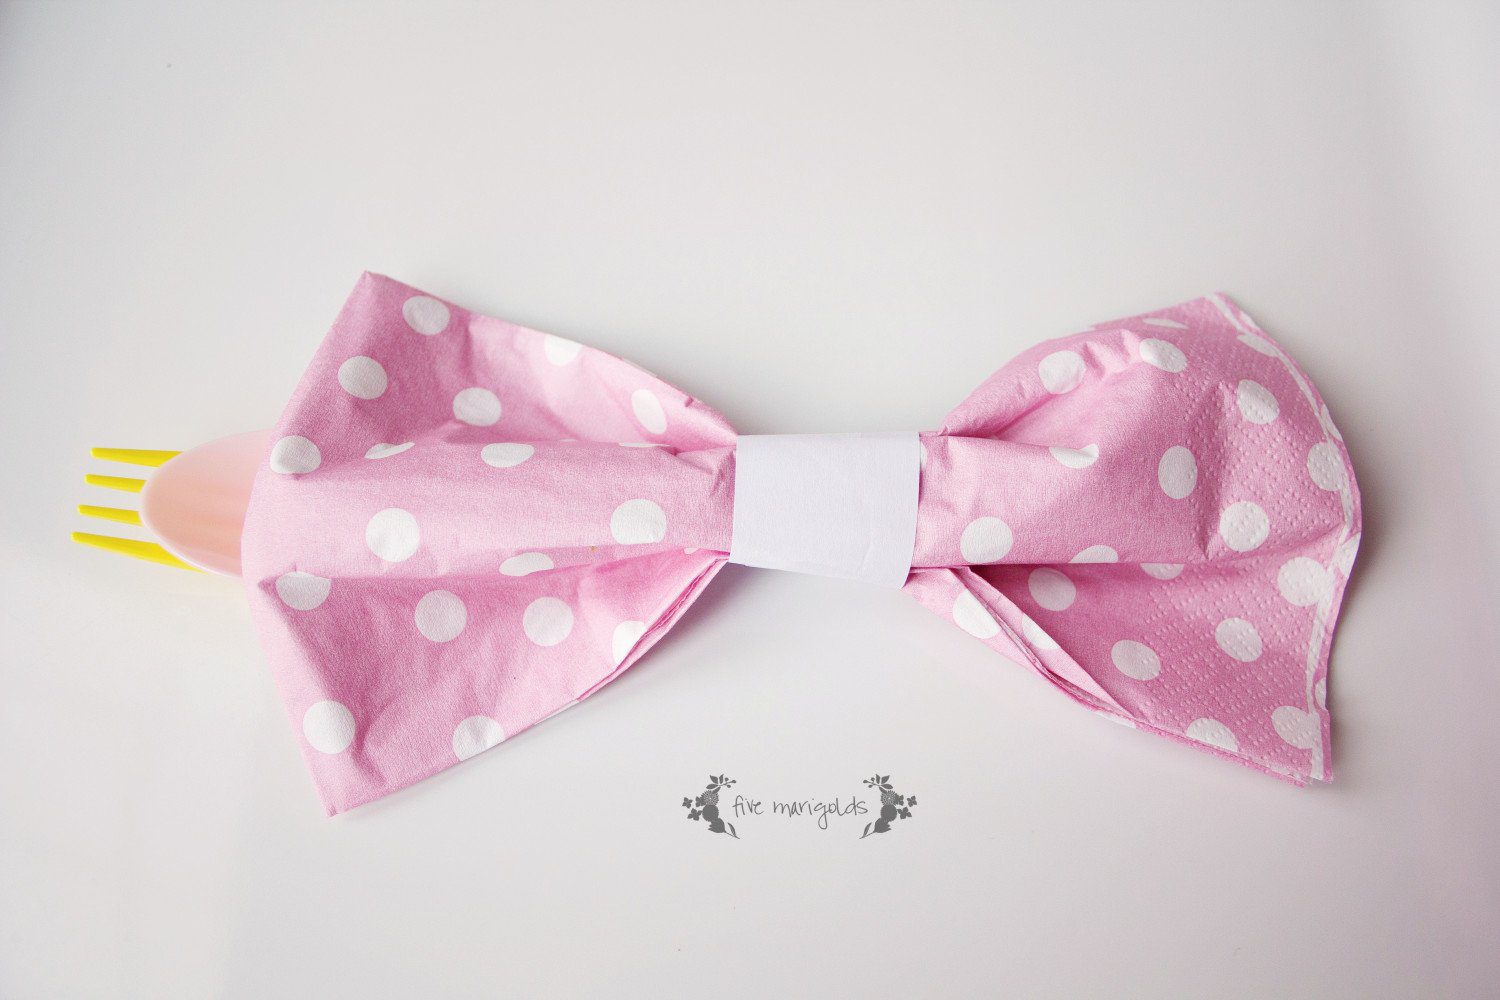
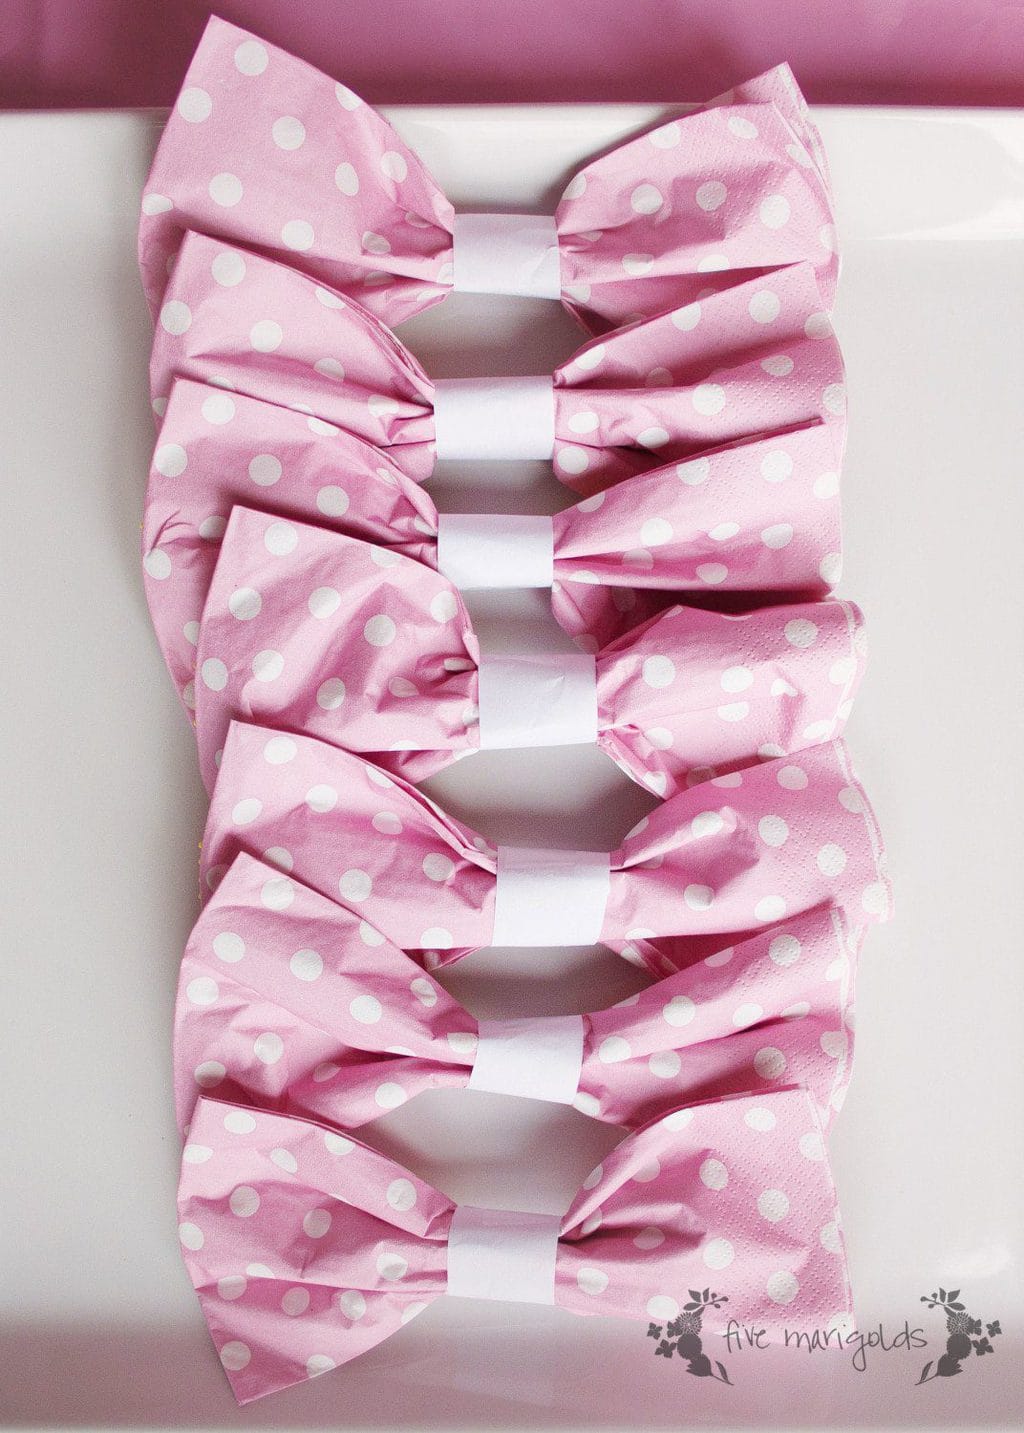
Next, I made bow napkin rings – I love how these turned out! I bought rectangle shaped napkins, but you could also do this by folding traditional napkins in half. Simply pinch them in the middle, place them on top of your cutlery and wrap a small band of paper around the bow, secured with tape.
As I mentioned earlier, I used leftover napkins to make the bow you see on the front of the table to carry the theme through.
I took a little photo shoot of baby ‘Belle sporting her birthday bow. I’d say the cupcakes were a hit!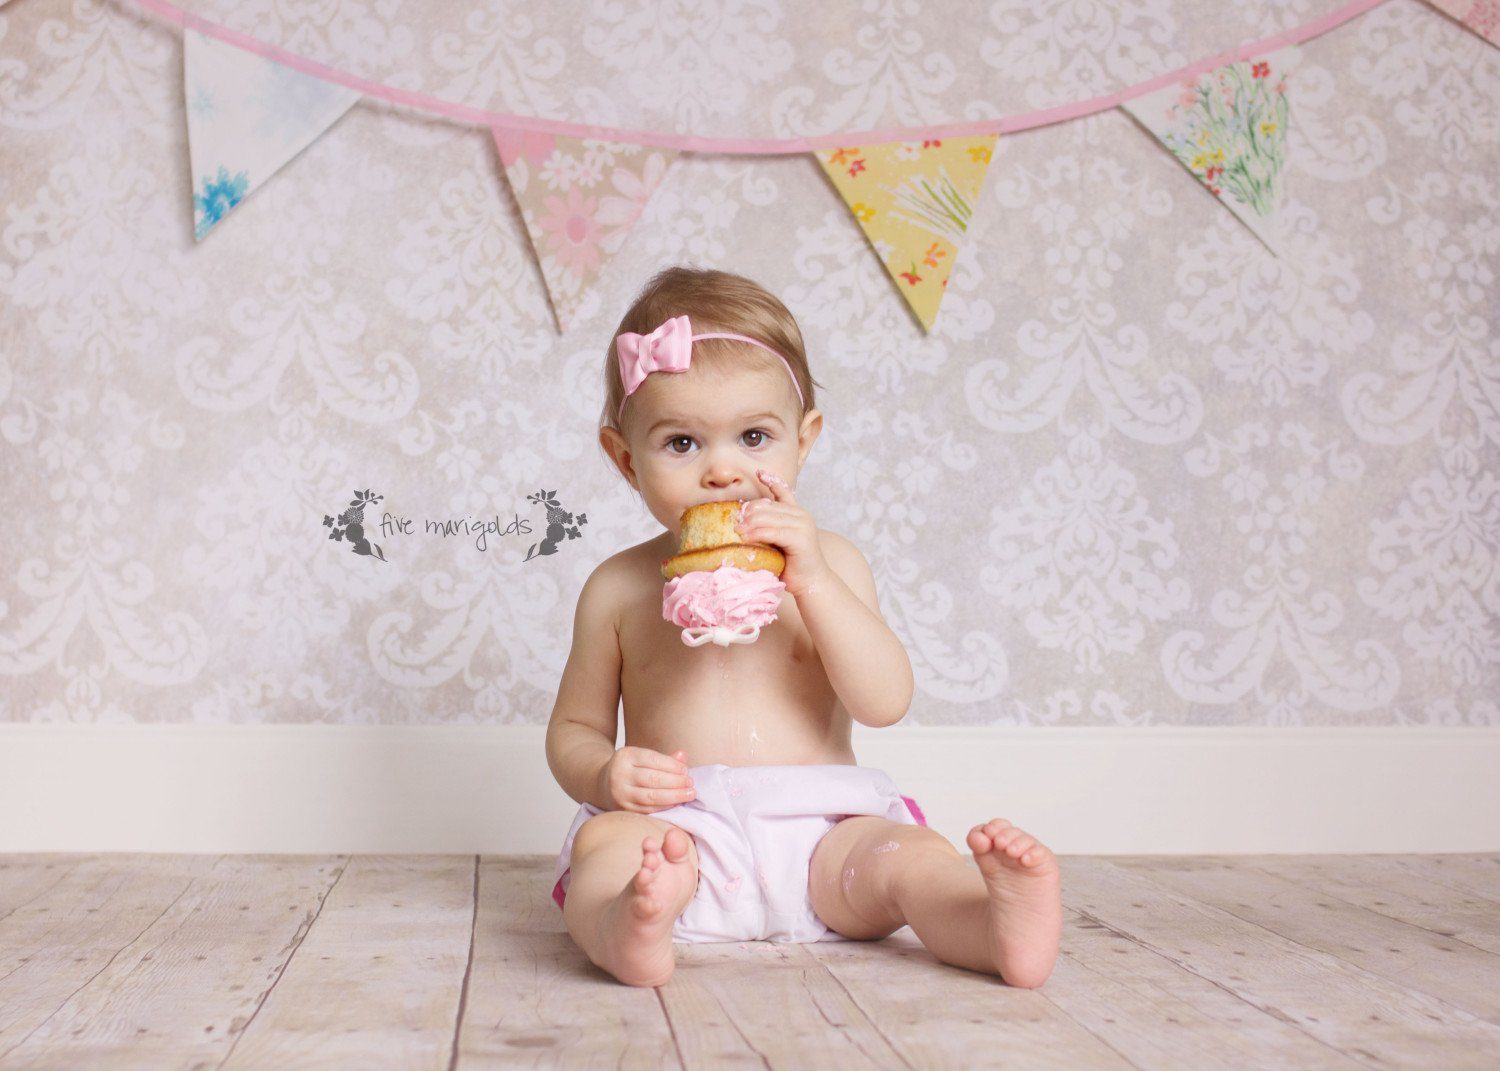
Like the ideas you see here? Be sure to follow my birthday party inspiration board and subscribe below to keep partying with me!
Looking for more inspiration? You might like these parties:
Peppa Pig Party
Malibu Barbie Party
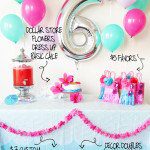
Princess Birthday for $20
https://fivemarigolds.com/2014/08/04/eves-princess-party/